|
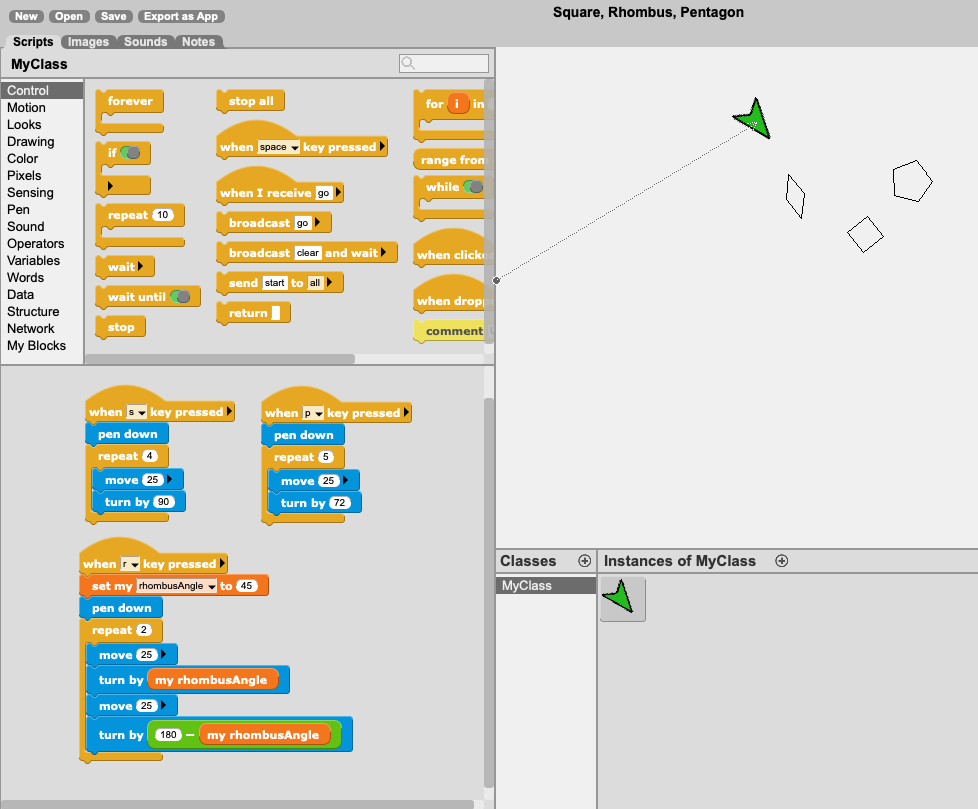
I remember fairly clearly the wellspring of my interest in computer programming: it was a 5th grade "special" at the Smith College Campus School in Northampton, MA. My classmates and I were plopped down in front of a row of early Macintosh computers, and given some cheat-sheets with basic instructions that moved a monochrome white turtle around a black screen, leaving white lines behind. Some of the cheat-sheets involved simple shapes. The next steps were repeating geometric patterns, and one advanced sheet even drew an analog clock - complete with moving hands. I don't recall if there was just a single visit to the computer lab, or opportunities to revisit and create further, but something about it had set its hooks in me. I remember another time that a babysitter sat down at our old family DOS computer, and wrote a BASIC program that covered the screen with changing colors. Not something that should be memorable this many years later, but there’s the memory. I think that I was too shy at the time to express my interest, either to my 5th grade teacher or to my babysitter, but something about it ignited my curiosity. I don't remember much about elementary and middle school, but those memories are clear. https://theantiroom.files.wordpress.com/2011/04/logo_turtle.jpg It wasn’t until my junior year in high school that I was able to take a programming class in school. My interest deepened, and I ended up studying computer science in college as well. While memories of that little white turtle have stuck with me ever since 5th grade, it’s only very recently that I re-discovered that the turtle was the main actor in a programming language called Logo - created to teach children to code in the ‘60s, and developed into the ‘90s. The well-known graphical programming language Scratch is a distant descendant of Logo. Both languages have a graphical object that can be moved around the screen with simple instructions - drawing shapes or responding to keyboard input. I’ve been experimenting with a Scratch derivative called GP Blocks over the past week. It is nearly identical in its basic functionality, but has a higher ceiling, including the ability to consume and manipulate files and data. Guiding the arrow (the introductory “cursor” in GP Blocks) around the screen brought me back to my early days. The ubiquity of graphical interfaces makes this type of programming much more approachable than it was in the text-based early days, however, and the colorful nesting blocks make the language feel more like a puzzle or a game.
My initial goal was to write a program that could draw a square, a rhombus, and a pentagon. As a relatively competent programmer, I felt some pressure to figure out this new language easily and naturally. For the most part, I was able to discover the appropriate blocks in order to build the logic, although I stumbled slightly when trying to use the “for” loop block. I had an intuitive sense of how it should work, and was somewhat taken aback when it didn’t work exactly as expected. Minor differences in syntax between different languages can cause a frustrating break in the fluency when using or reading a language. After some simple debugging, my program was drawing proper shapes. There is a wonderfully unambiguous satisfaction with a working program, no matter how simple. It does what I intended it to, and I made it do that! The satisfaction is nearly always made greater by some amount of debugging. Once you can internalize the fact that nobody writes perfect code on the first try, every time, the debugging becomes part of the process - a puzzle to solve - rather than simply a roadblock. I look forward to digging deeper into the capabilities of GP Blocks, and imagining how it might hook a next generation programmer the same way that the little white turtle hooked me those many years ago.
2 Comments
Everything is a Remix was originally a four-part video series, produced by Kirby Ferguson. He has since remastered it into one continuous film, and if you haven’t yet seen it, I strongly encourage you to do so. I plan to show it to my 9th grade Math-Science Investigations class next year, because it so succinctly and engagingly breaks down any myth of “original” creative thought. Creativity is such a high-value skill in education and business these days, but students all too often feel that creativity is out of reach. There’s a sense that you either have it or your don’t. Furthermore, the students that think they “have it” likely misunderstand it as much as those who don’t.
Creativity is rarely, if ever, as magical as students might believe. Put simply, creativity occurs when we remix, or as Fergusen puts it, when we “copy, transform, and combine” (2015) things that already exist. The psychological concept of transfer sits at the root of remix and creativity - to take what we have learned in one context, and transfer it to another. According to Bransford, Brown, and Cocking, “The first factor that influences successful transfer is degree of mastery of the original subject. Without an adequate level of initial learning, transfer cannot be expected. This point seems obvious, but it is often overlooked” (p. 53, 1999). In education, we need to be careful not to try to teach “creativity” on its own while overlooking the basic building blocks thereof*. It can be enticing to STEM educators (myself included) to imagine an inquiry- and interest-based curriculum, that reduces the liberal arts load in order to focus on the benefits (including creativity!) that such an approach might reinforce, but STEM at the cost of liberal arts may be short-sighted. While interest-based projects can certainly enhance student engagement, do narrowly-focused or specialized courses of study limit the breadth of accessible knowledge on which their creativity might draw in the future? Creativity is easily observable in young children, who seem to effortlessly remix in their everyday play. LEGOs and TinkerToys merge to build a village that their giant stuffed monkey decides to move into, or to demolish, or maybe both. There’s no sense of fear or rules that cause them to hesitate before remixing what they’ve learned to create new things. Warren Berger references Tiffany Shlain’s film Brain Power: From Neurons to Networks, saying, “The lab’s scans reveal an explosion of connections (synapses) between neurons in young children’s brains -- amounting to about a quadrillion connections, or more than three times the number found in an adult brain. Kids’ brains are constantly connecting stimuli or thoughts. And as they’re making these mental connections, they’re seeking more information and clarification by way of questioning” (p. 41, 2014). Creativity comes so easily to children in part because their knowledge is simple and immediately applicable to their worlds. As adults, the ability to combine LEGOs and TinkerToys might not be something to put on our resumes. The underlying mechanism of creativity in childhood and adulthood may not need to change, but the blocks with which we build need to expand, evolve, and come from different “kits” (subjects). Industry is increasingly interested in creative individuals in every field. While anyone can learn to boost their creative confidence (Kelley & Kelley, 2013), the individuals that have broad knowledge and experience from which to draw are the people that are most likely to be able to generate the most useful and innovative ideas. As educators, we need to keep this in mind, and continue to emphasize traditional liberal arts subjects beyond STEM. Coding is important, for example, but let’s not simply create a factory school model for cranking out code monkeys. Creativity lies in connectivity - let’s ensure that we’re providing students the foundational “knowledge blocks” to build and connect for the rest of their lives. *Creative confidence, an idea put forth by Tom and David Kelly (2013), can be taught in a subject-agnostic manner, but creative confidence is more about overcoming fears and being willing to engage with your creativity. Kelley and Kelley presume that your creativity is built in, and just needs to be tapped. (For a wonderful and related exploration into how people with disparate backgrounds work together, and what types of ideas they come up with, listed to NPRs Hidden Brain episode called The Edge Effect.) Resources: Ferguson, K. (Producer). (2015, Sep. 12), Everything is a Remix Remastered (2015 HD) [Video file]. Retrieved from http://vimeo.com/139094998. Accessed 16 Aug. 2018. Bransford, J. D., Brown, A. L., & Cocking, R. R. (Eds.). (1999). How people learn: Brain, mind, experience, and school. Washington, DC, US: National Academy Press. Berger, W. (2014). A More Beautiful Question: The power of inquiry to spark breakthrough ideas. New York: Bloomsbury. Kelley, T., & Kelley, D. (2013). Creative confidence: unleashing the creative potential within us all. First edition. New York: Crown Business. Failure is good!! Failure is great! Let’s fail all the time! This seems to be the message in progressive education in the past few years. Warren Berger discusses the rise of this concept in his book, A More Beautiful Question: The power of inquiry to spark breakthrough ideas. He notes how the idea shows up in a commencement speech by Oprah Winfrey in 2013, and “has been a popular credo in Silicon Valley.” (2014) It’s easy to find disciples of this trendy idea. A quick Google search yields articles such as Why Failure Is Good for Success (success.com), Lessons on Success: 3 Reasons Why Failing is Good (monster.com), Failure Is Good (psychologytoday.com), and Why Failure Is Good For You (Even If It Doesn't Feel Good) (bustle.com).
I understand the sentiment: let’s destigmatize failure, and see it as a learning opportunity instead of a cause for distress. Learn from your mistakes. Build on your failures. Generally, I don’t disagree. Particularly when targeted at adults who have experienced and felt real failure, this concept is valuable and powerful. What I worry about is bringing this mantra to our young students. Failure still has meaning, as a word and as a concept. Failure does NOT achieve the stated goal, and can have serious repercussions. Daniel Altman began to question this “Failure Fetish” in his article on the website Big Think (2013). He defends the value of careful consideration and thought instead of simply aiming to “fail fast.” My concern is related, but particular to the world of education. Creating an educational world where failure is spun as a positive comes with a few notable challenges. My theory is this: the mantra of “failure is good” diminishes the value and power of failure. The “nounification” of the word fail (“That’s a fail.”), and the exponential growth of phrases such as “epic fail” indicates that the idea of failure is being employed at a micro-level in the lives of our students. Any slight misstep suddenly becomes a “fail.” Failure, by nature and definition is a terminal concept. A failure comes at the end of a process, when the final efforts fall short of the goals or expectations. Creating a world of micro-failures creates opportunities for students to a) tear each other down in a continual stream of microaggressions throughout their day, and b) diminish the value and meaning of the concept itself. It also seems to be related to the era of the short-attention, immediate gratification, 140-characters or less way of navigating our world. If an “epic fail” can happen on a first try of a meaningless task, how seriously are they taking the concept of failure? We can learn from our failures, but if students are seeing themselves “failing” hundreds of times every day, how many of those micro-failures are they actually likely to try to improve on or learn from? Fail. Move on. Next thing. My suggestion is that we move away from the “failure is good” mantra in education. Instead, we reframe what we’re currently calling failure as simply a first try, an iteration, a draft, depending on the context. In the vast majority of cases, what students are referring to as “a fail” is not actually a failure. Nobody has failed yet, because there’s no reason that the process should be terminal yet. It’s simply a first try! Rather than pointing to a sub-par first iteration as a “failure” and talking about how much we can learn from it, we should assume a second iteration and ask instead, “How are you planning to change or improve it for your next iteration?” If students don’t feel like their failing, we have no need to reframe this idea of failure as a good thing. In the much less common cases when there was a legitimate failure, we can talk about how to move on and grow. Let’s not make everything a failure. Resources: Berger, W. (2014). A More Beautiful Question: The power of inquiry to spark breakthrough ideas. New York: Bloomsbury. Altman, D. (2013, June 11). The Failure Fetish. Retrieved August 16, 2018, from https://bigthink.com/econ201/the-failure-fetish People with “all the answers” must not get asked good questions very often. Good questions cause you to pause, digest, and respond with more questions rather than immediate answers.
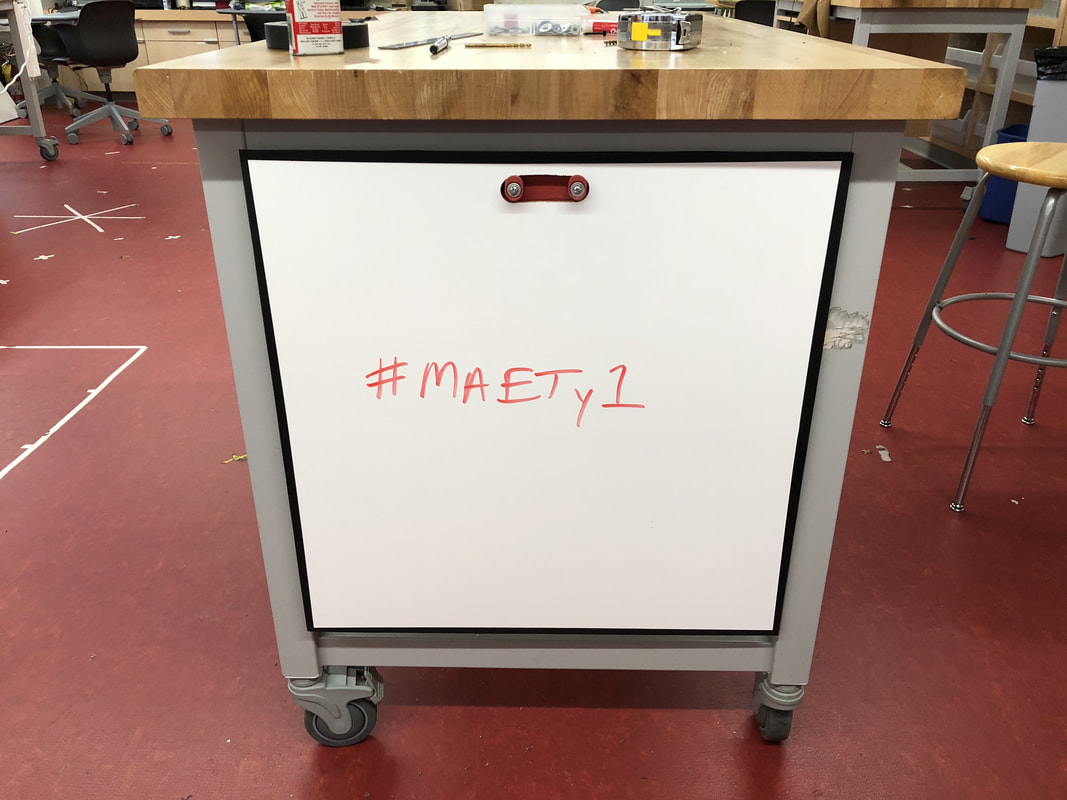
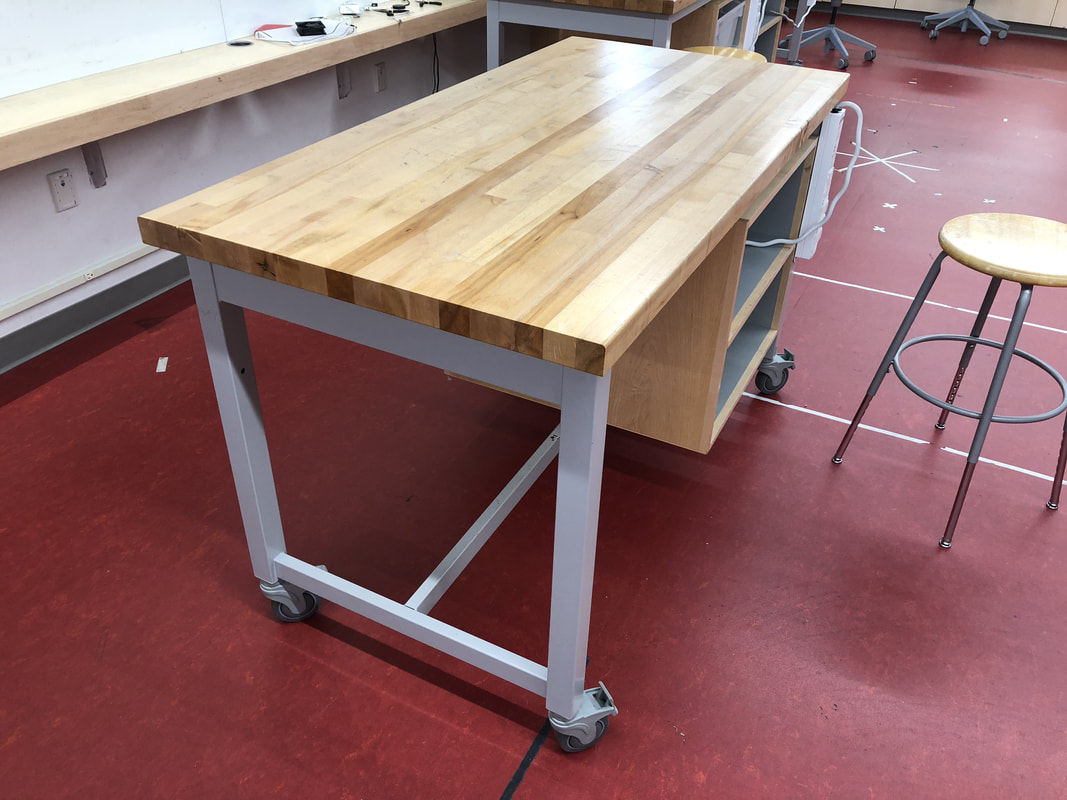
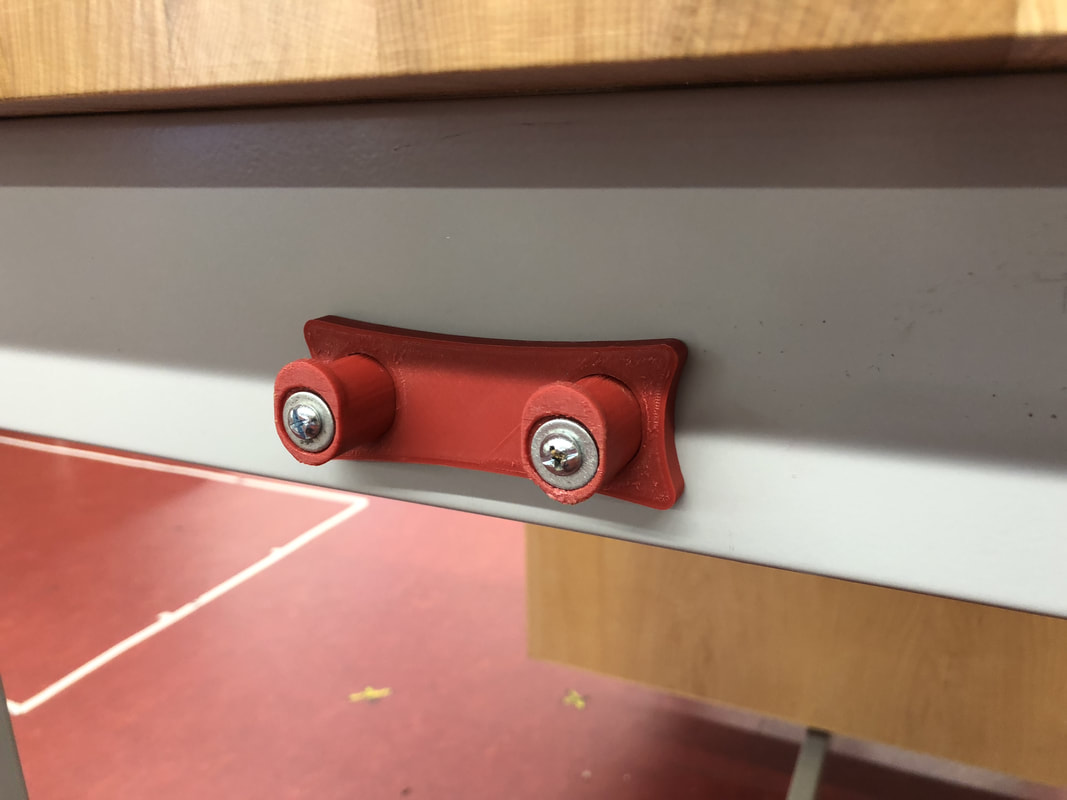
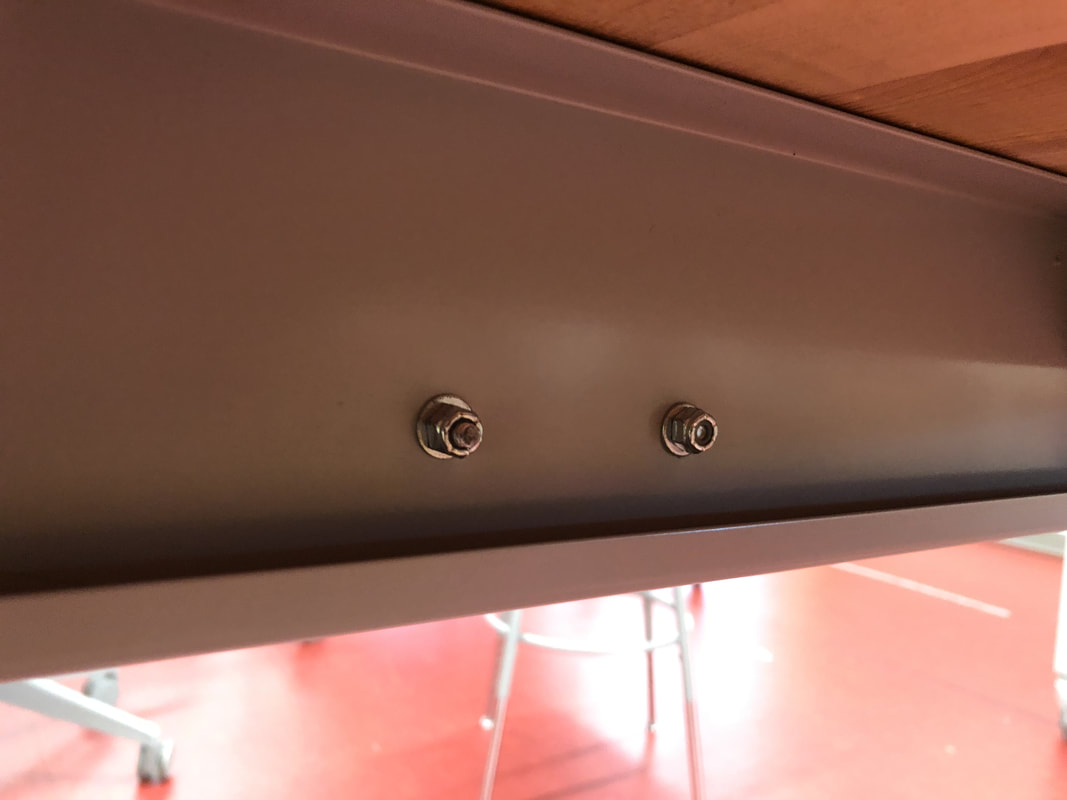
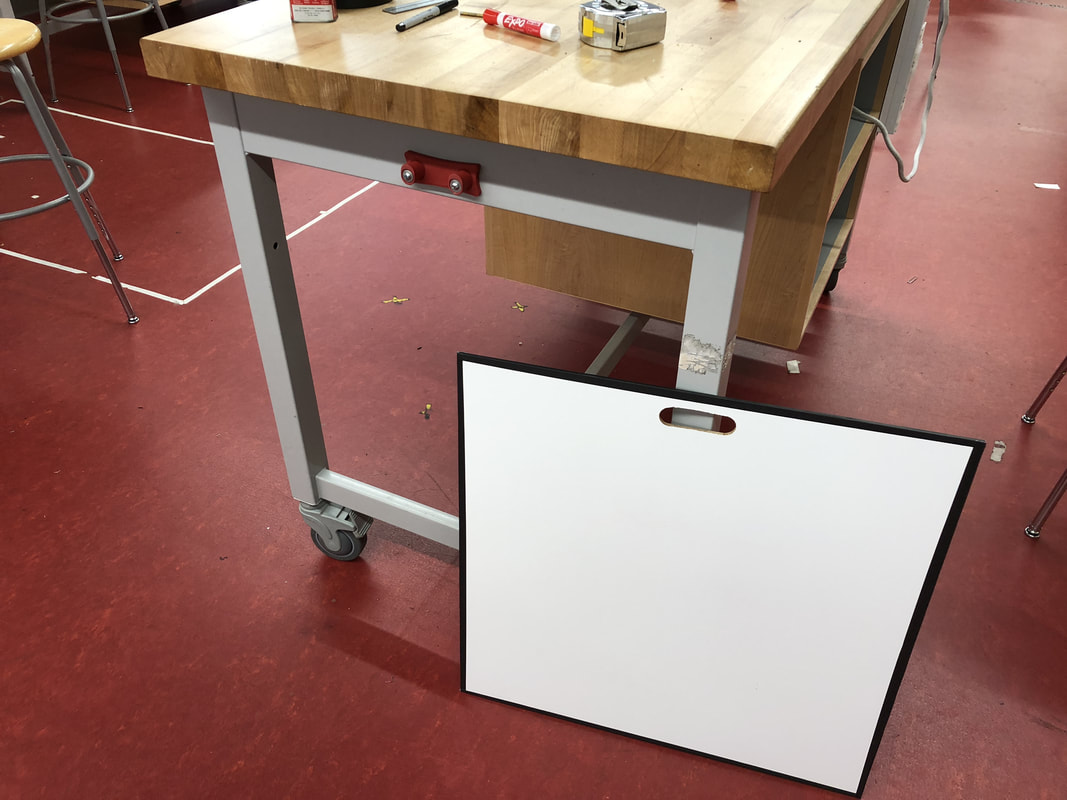
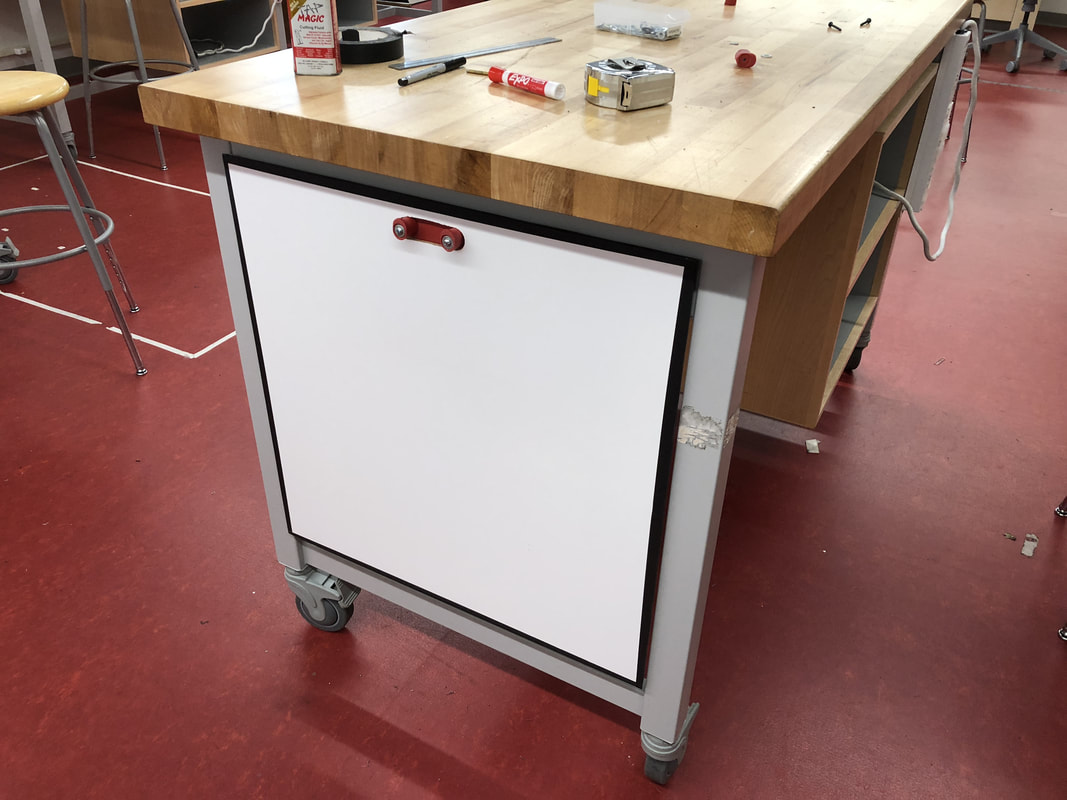
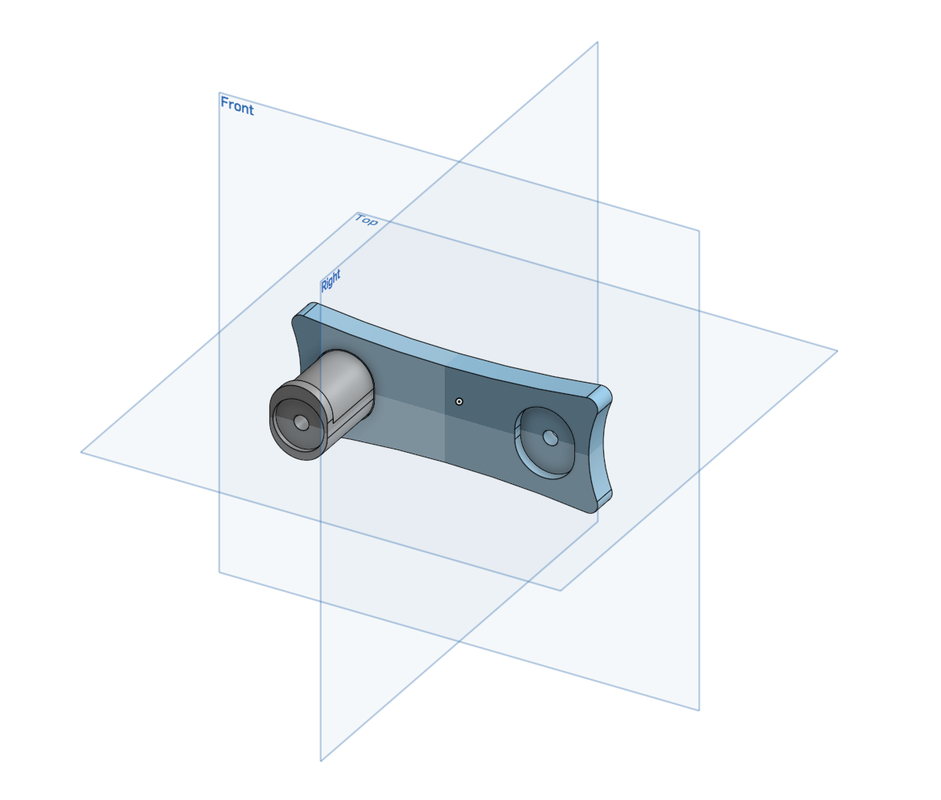
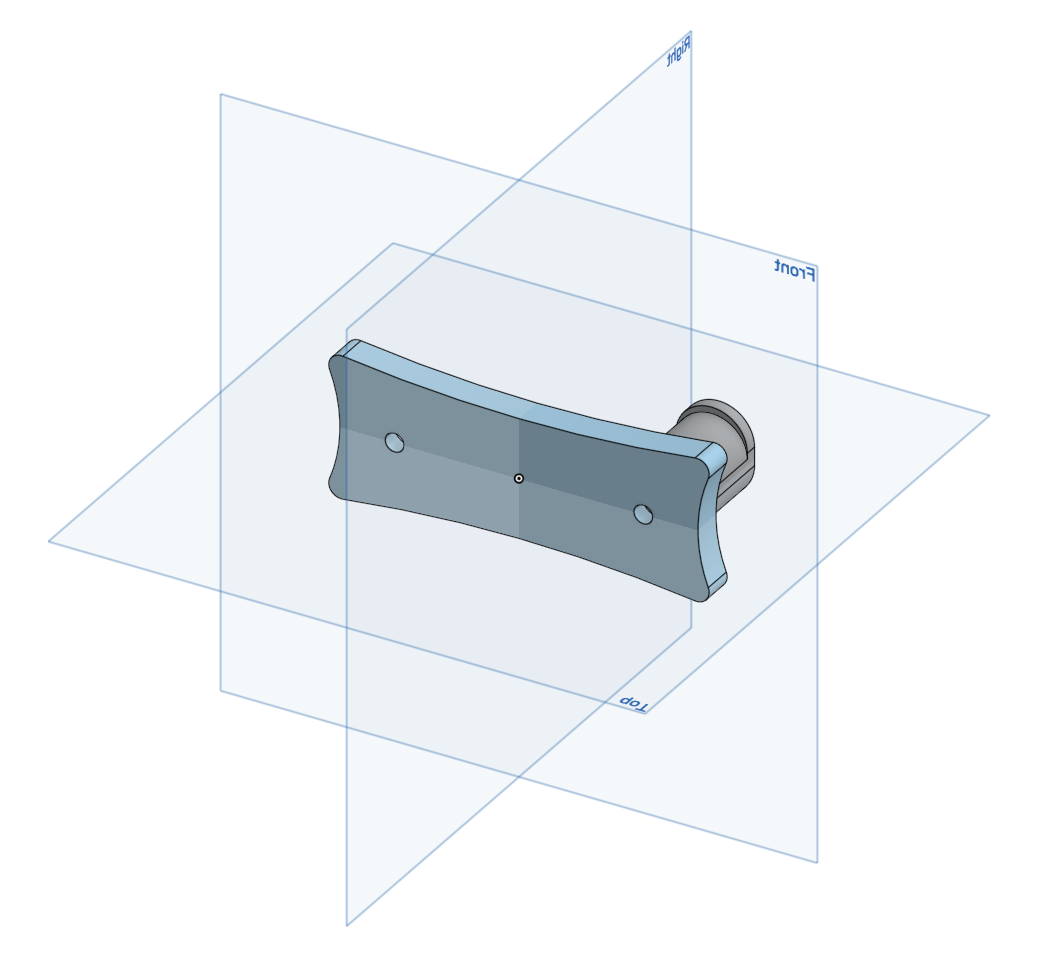
When presented with a problem worth solving, a series of intentional question-asking steps can be helpful in guiding your thought. Particularly, Warren Berger suggests a “why,” “what if,” and “how” method (Berger, 2014). Examining a problem first with “why” can help to create a deeper understanding of the problem. Why are things the way they are? Once you’ve clarified the actual problem, “what if” questions can help to determine what some possible solutions might be. What if things were this way instead? In casual thought, most of us stop there. We identify some possible solutions and then move on to our next problem, because it seems daunting, we don’t have the time, or we’re scared of failure (Kelley & Kelley, 2013). The people that are actually out there solving the world’s problems are the ones willing to go beyond the “what if,” and start to meaningfully engage with the “how.” How could we actually do this? In a school, problems arise all the time that might have relatively simple solutions, but issues of time, tradition, and governance often discourage faculty and staff from getting far beyond the “why.” We can all identify a chronic “why-er” or two in our workplaces, probably more often referred to as a whiner or complainer. Perhaps you’ve even experienced an occasion when a “what if” is posed to a “why-er,” and they seem to check out - uninterested in actually pursuing a solution to their “why.” Particularly in schools, where there are plenty of problems to solve, we need to stop coalescing around the whys, and move toward the what ifs and hows. I want to encourage those of you who are engaged by the “what if” and “how” questions to put aside concerns about whether you might be “allowed” to pursue solutions to your given problems, and to adopt a rebel spirit. Rebels typically aren’t “up to no good” - rather - they’re simply pursuing solutions that don’t fit inside the box. Often times it’s the rebels that are the innovators and the world-changers. They don’t worry so much about the outside constraints of their role, and the pursue what it is that engages them in the best ways they know how. (NPR, 2018) I’ll present one example of a subtle “rebel” activity that turned out well for me. In my school, we have quarterly report meetings, in which we spend a whole day working our way through each grade, trying to talk about every kid in the school, and spending more time on students that might be having a tough time for one reason or another. While faculty dutifully report to these meetings, and collectively acknowledge that it’s good that we have them, they can be long and somewhat dry, particularly when you don’t actually work with the students being discussed. Some of the “why” questions that came to mind for me were, “Why is it hard to follow along in these meetings?”, “Why is hard to get a sense of who a kid is if we don’t work with them?”, and “Why don’t we use technology to help guide these meetings?” It seemed to me that it was hard to follow along because when you inevitably drifted into an unrelated thought and then came back, there was no visual indicator of who we were discussing. The options were to pretend you knew what was going on, or to bashfully whisper to your neighbor, “Who are we talking about?” It was hard to get a sense of who a kid was because there was no context provided beyond a hard-to-read single-page spreadsheet printout of all the kids in the grade, and all of their grades for the marking period. We didn’t use technology because there wasn’t an obvious tool readily available, and because we had “always done it” this certain way. My “what if” questions were, “What if there were a way to see who we were talking about? What if there was a way to get a little more texture on who they are? What if we could use technology to pull this information together in a meaningful way?” Rather than complaining, or arranging meetings to see if anyone else thought it might be useful, or creating a committee to talk about it, I asked myself, “how?” I taught myself a little bit of JavaScript, HTML, and CSS, found a few useful libraries, learned about our student information system and how to pull data from it, and built a “dashboard” that shows a student’s picture, name, grade, and hometown, shows a list of their athletics and activites, a line chart that shows their grade progress in each class over the year, and a table with their letter grades. I proposed it to the individuals leading each meeting with a prototype, and they were cautiously optimistic and willing to try it. Certain individuals were particularly skeptical, but after the meetings, the feedback was unanimously positive. There were also suggestions about how the dashboard could be further improved. Of course I'm not suggesting that it’s “easy” to learn how to build a custom web dashboard - my background is in computer science, and it was a challenge for me. What I am suggesting is that when you identify a problem, use your background and resources to the best of your ability to get beyond “why,” and get started on “what if” and “how” - regardless of whether you’ve gotten specific permission to do so. Once your “rebellious” act solves a problem, it suddenly becomes an innovation. Resources: Berger, W. (2014). A More Beautiful Question: The power of inquiry to spark breakthrough ideas. New York: Bloomsbury. Kelley, T., & Kelley, D. (2013). Creative confidence: unleashing the creative potential within us all. First edition. New York: Crown Business. NPR. You 2.0: Rebel With A Cause. (2018, July 24). Retrieved August 16, 2018, from https://www.npr.org/templates/transcript/transcript.php?storyId=631524581 As a wrap-up to my first year experience in the Master of Arts in Educational Technology program, I was asked to make something. Anything. As long as it demonstrated my PQ and CQ. While I think the intention was the creation of a digital artifact, I went a slightly different direction. The hanging whiteboard and the 3D printed hanger are the things that I made. My classroom has a large whiteboard in the front of the room, but students most often work at the tables around the room. The whiteboards give them an opportunity to quickly engage with ideas collaboratively, while not introducing more furniture to an already crowded room. This project is meant to speak for itself, so I'll let these images do the talking. I'll also include a link to the OnShape CAD design, in case you're interested in using or remixing the hanger design.
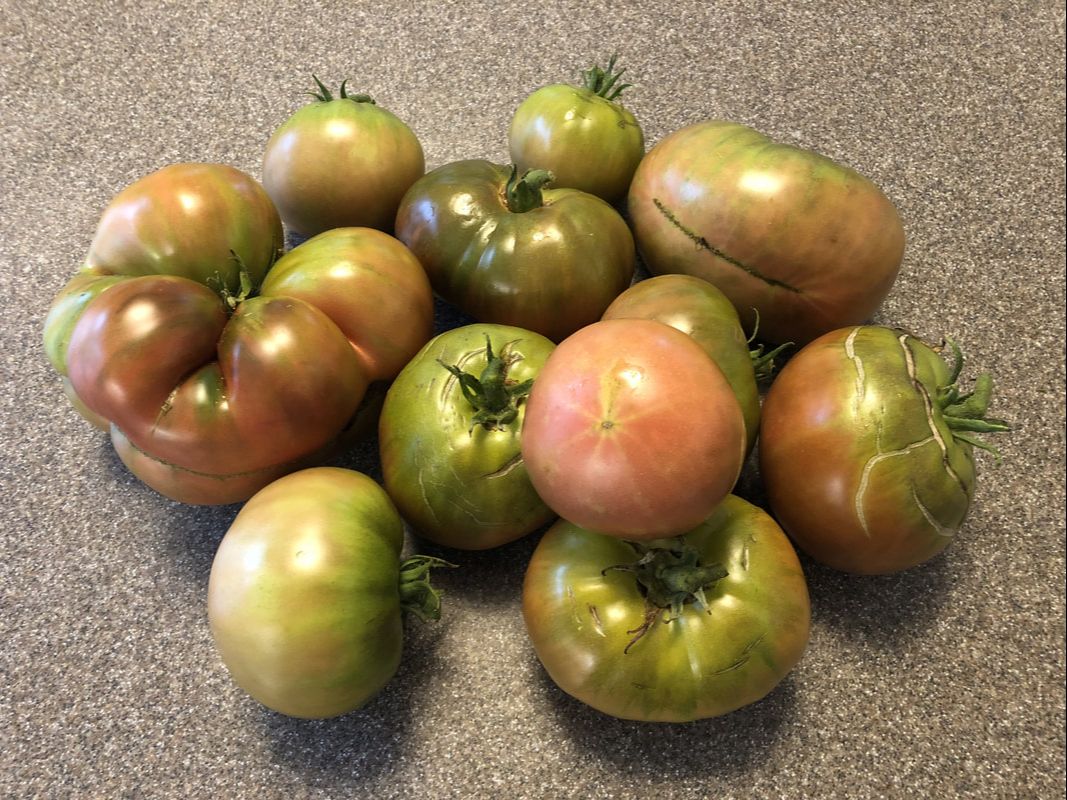
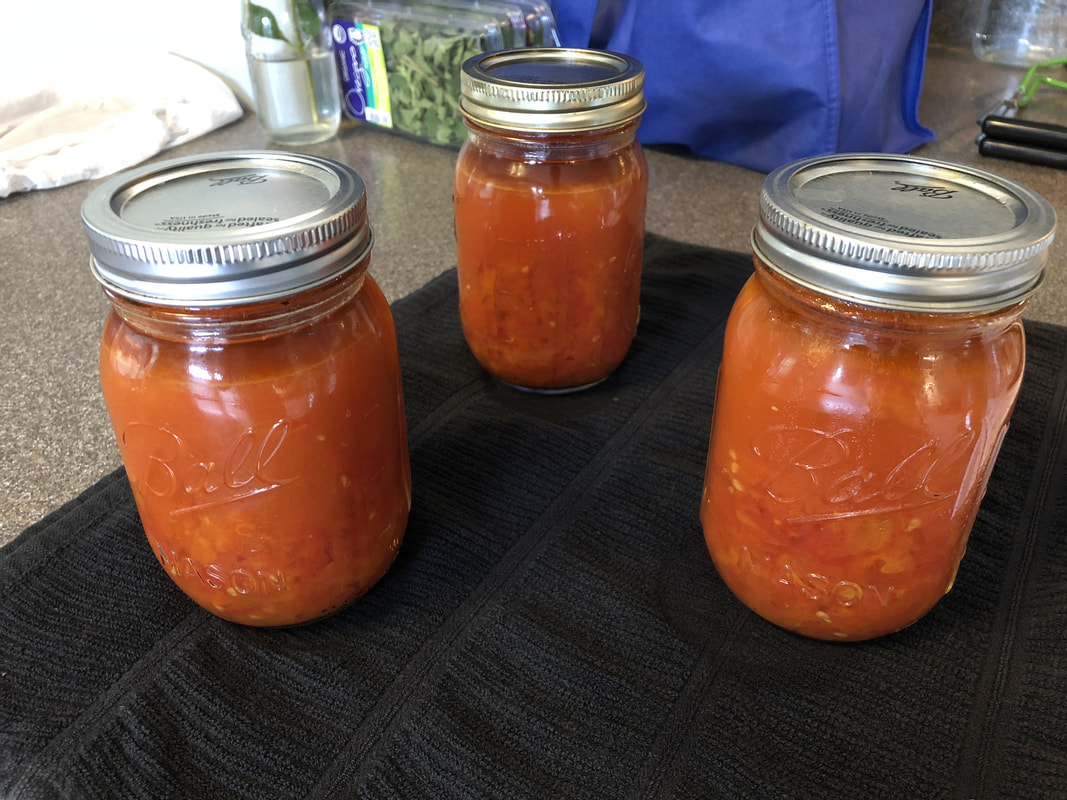
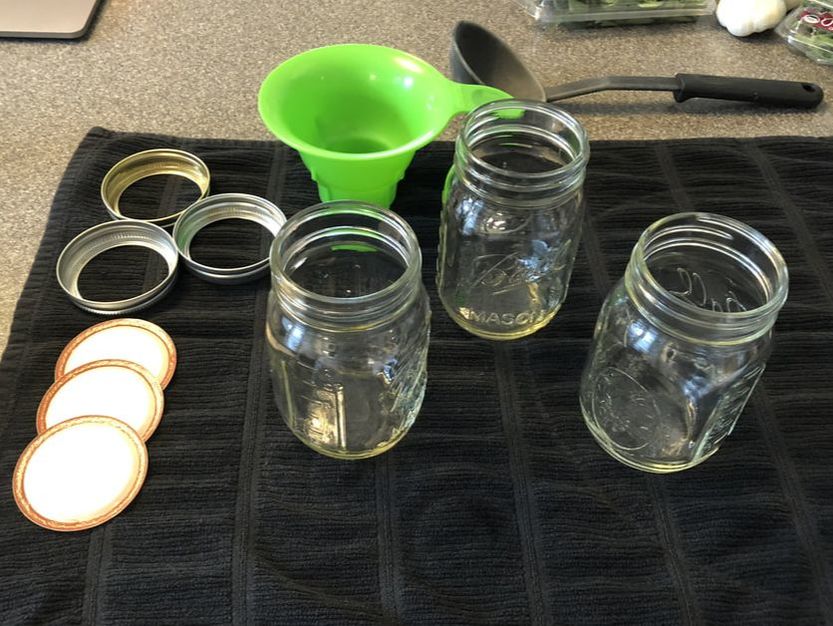
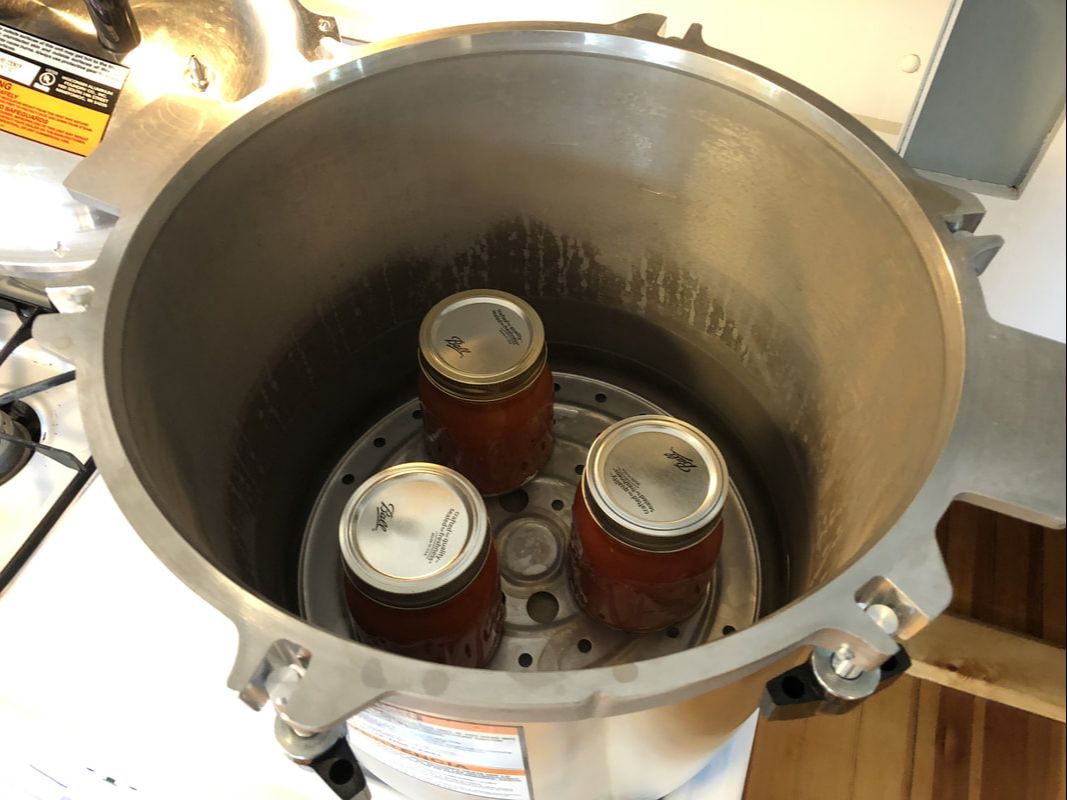
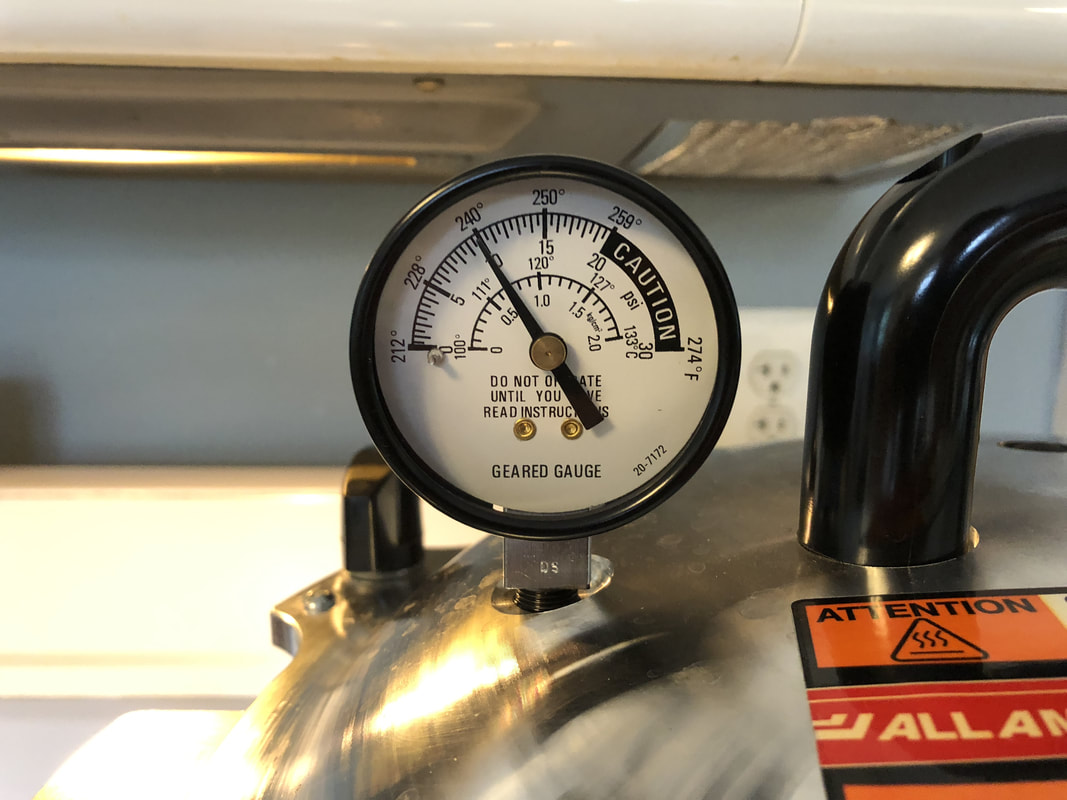
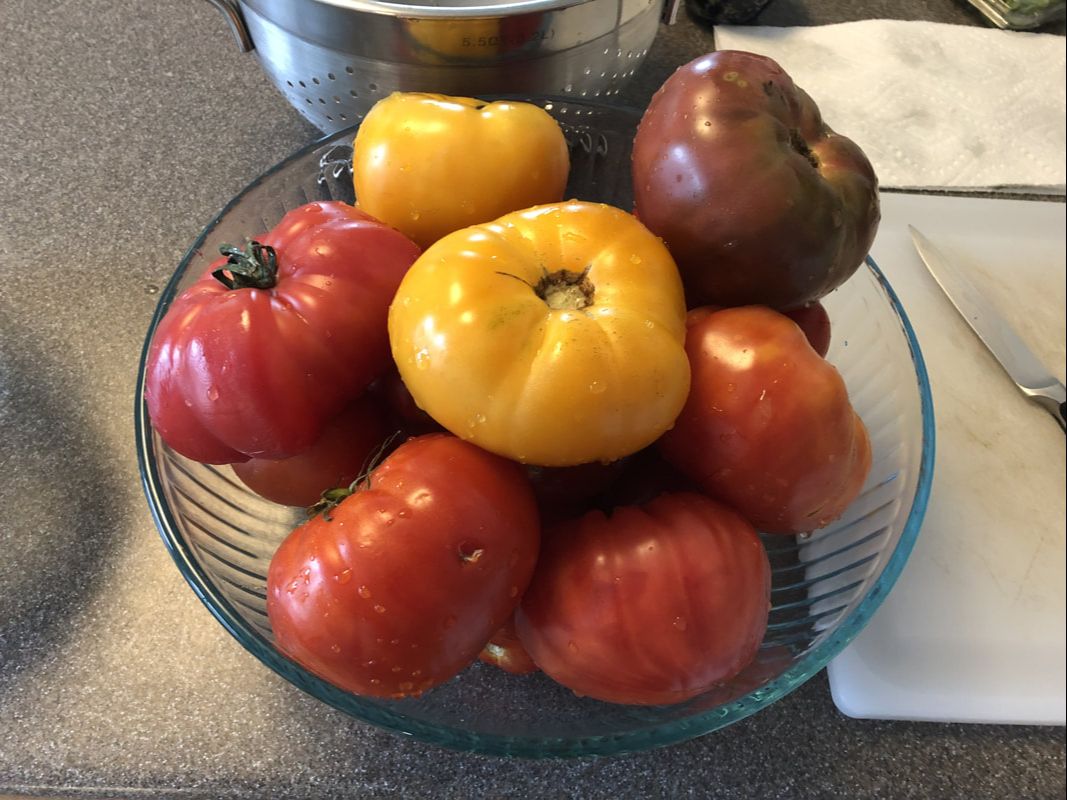
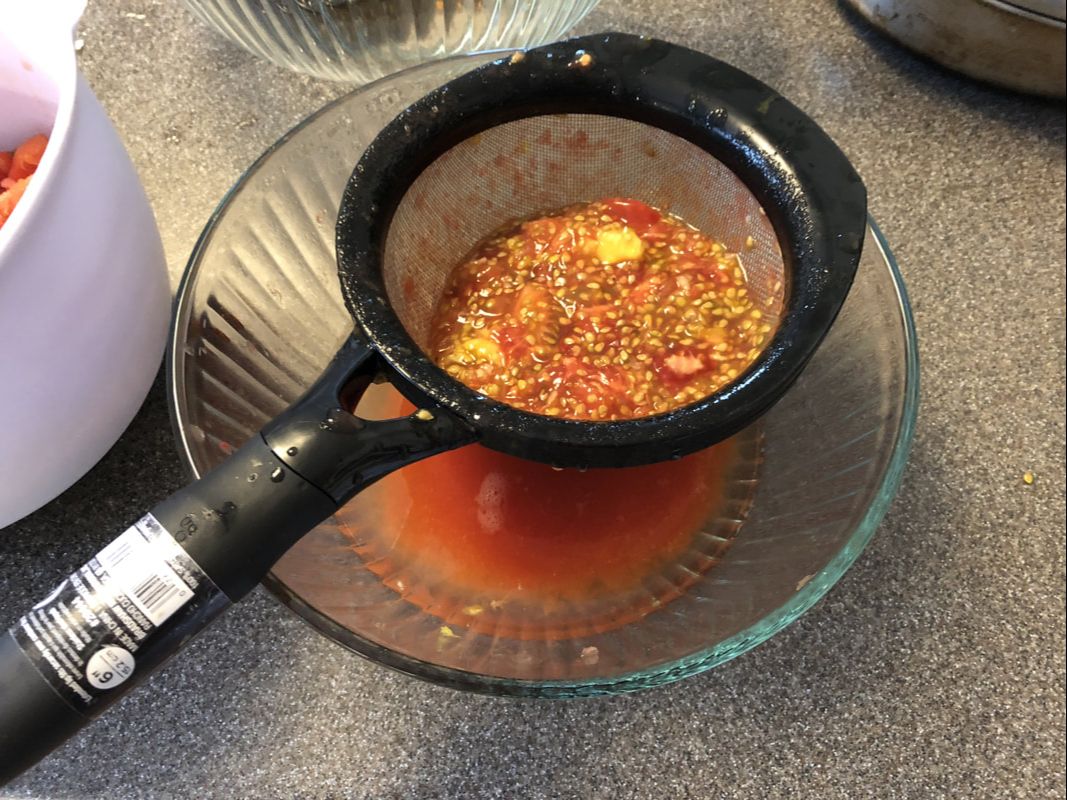
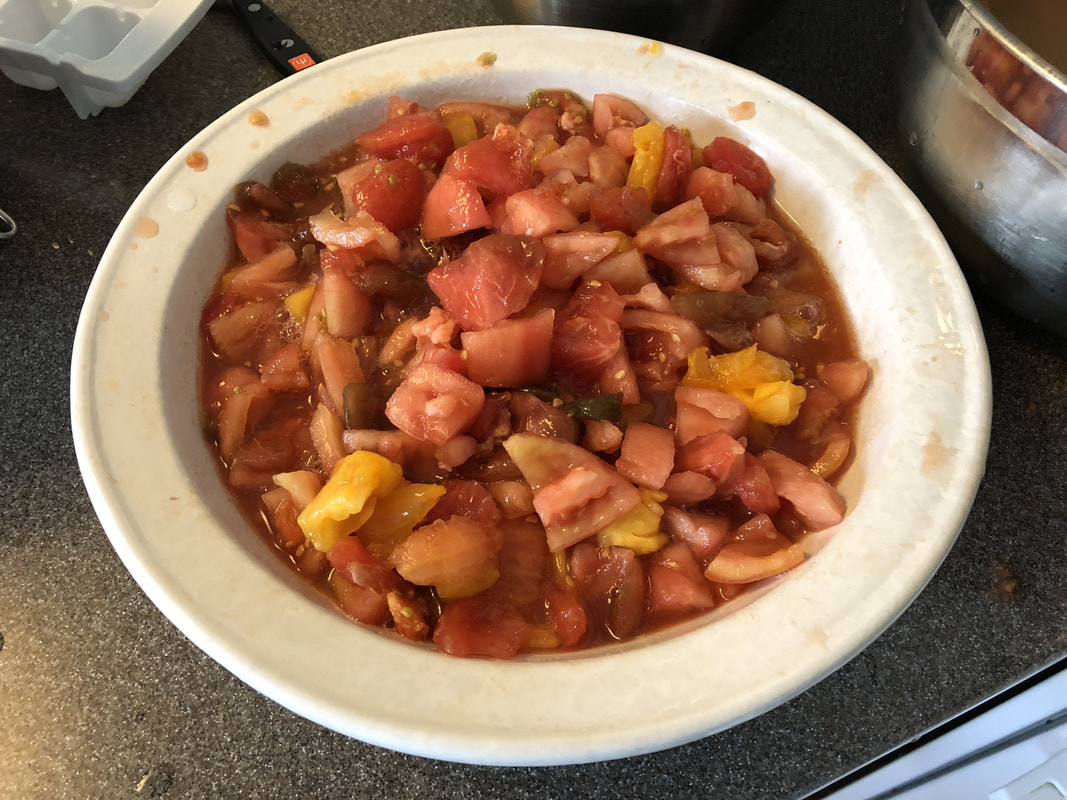
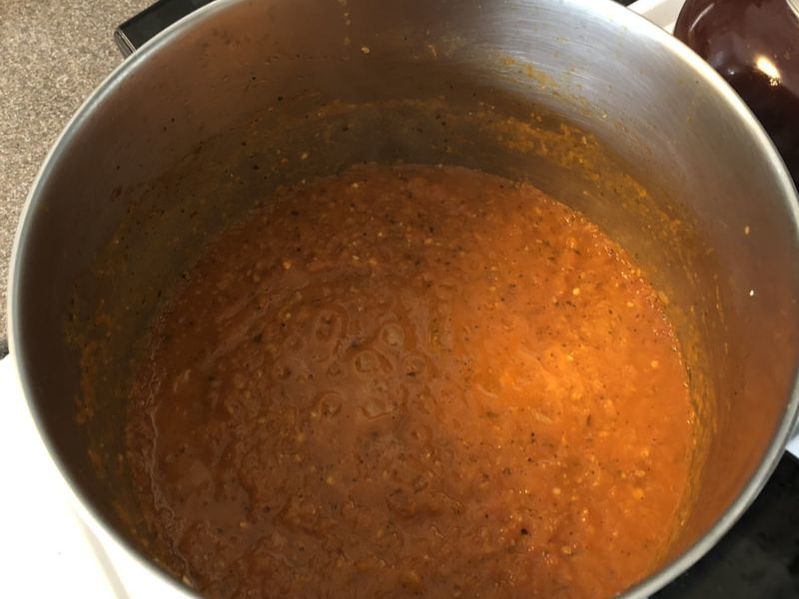
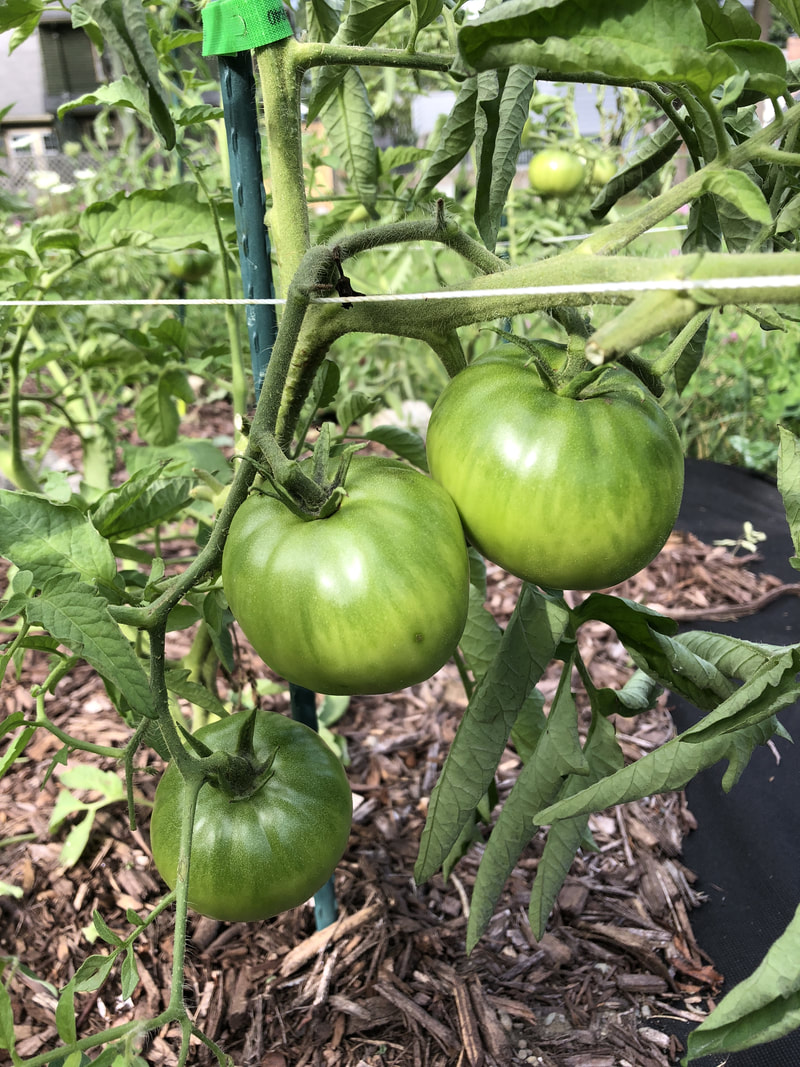
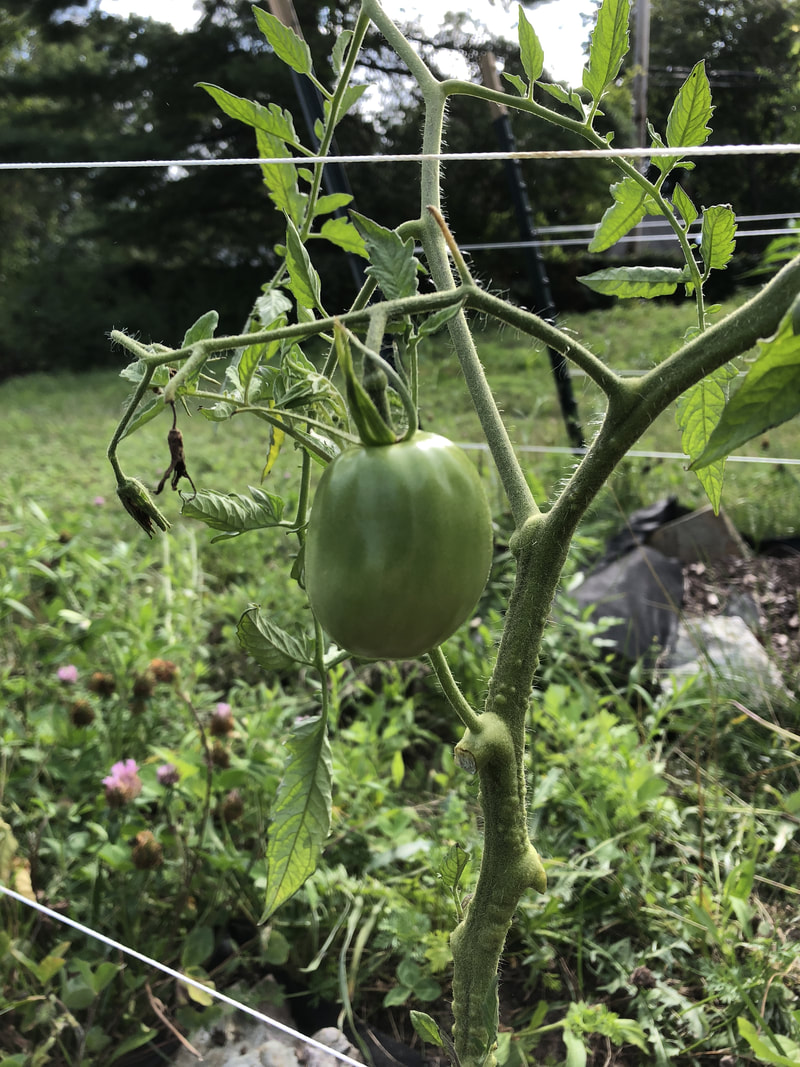
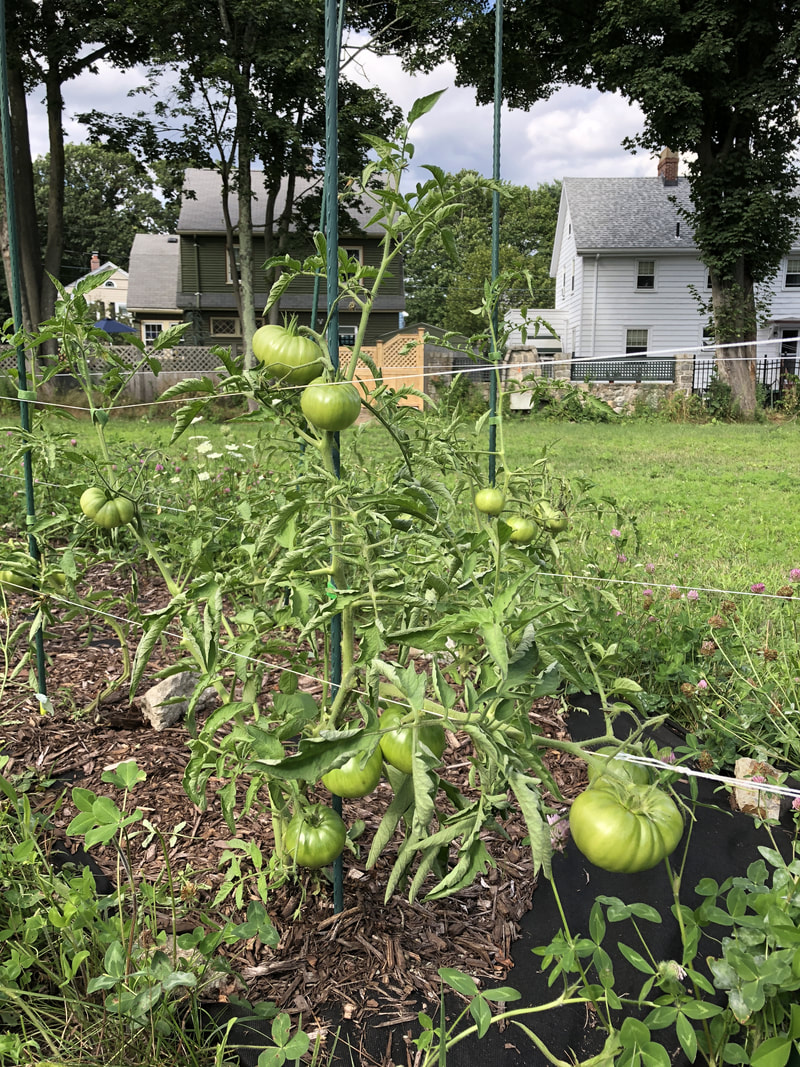
For those of you that have been following the saga of the sauce, I’ll begin with a brief update. I’ve harvested my first batch of tomatoes (Cherokee Purples) from the tomato patch, but they’re still not quite ripe enough for sauce-making. The next round of sauce-making, however, was a substantial improvement over the previous. I started with much riper (store-bought) tomatoes, and I followed a recipe that I found on a blog site, (more on this below) a simple recipe that made a delicious sauce. I am more than satisfied that the first objective of my challenge: to learn to make a tomato sauce from fresh tomatoes - has been accomplished. The second objective: canning said sauce - has proven somewhat more elusive. While I did successfully can the most recent batch of sauce using a pressure cooker, I did not use a USDA approved recipe, and therefore might be at risk according to some. Herein lies the challenge. Tested and approved recipes are important for canning - nobody wants botulism. Tested and approved recipes, however, are somewhat uncommon, and often pretty basic. Making delicious sauce? Check. Canning sauce? Check. Canning the delicious sauce? Not recommended by the USDA.
I’ll continue to try out new recipes, particularly once my tomato crop is fully ready. I intend to experiment with some basic USDA recipes for canning tomato sauce, but I also intent to simply can fresh crushed tomatoes, in order to give myself more flexibility with recipes. While it won’t be ready-to-eat out of the jar, I’ll be confident that I’m not going to get sick. Plenty of folks that I heard from in the videos and blogs I read assured me that “my Granny’s been doing this for 300 years and she ain’t never got sick!” I’d like to believe them, and my intuition tells me that certain methods should be safe, but if I’m going to be feeding my family (including young children), it’s probably best to air on the side of safety.
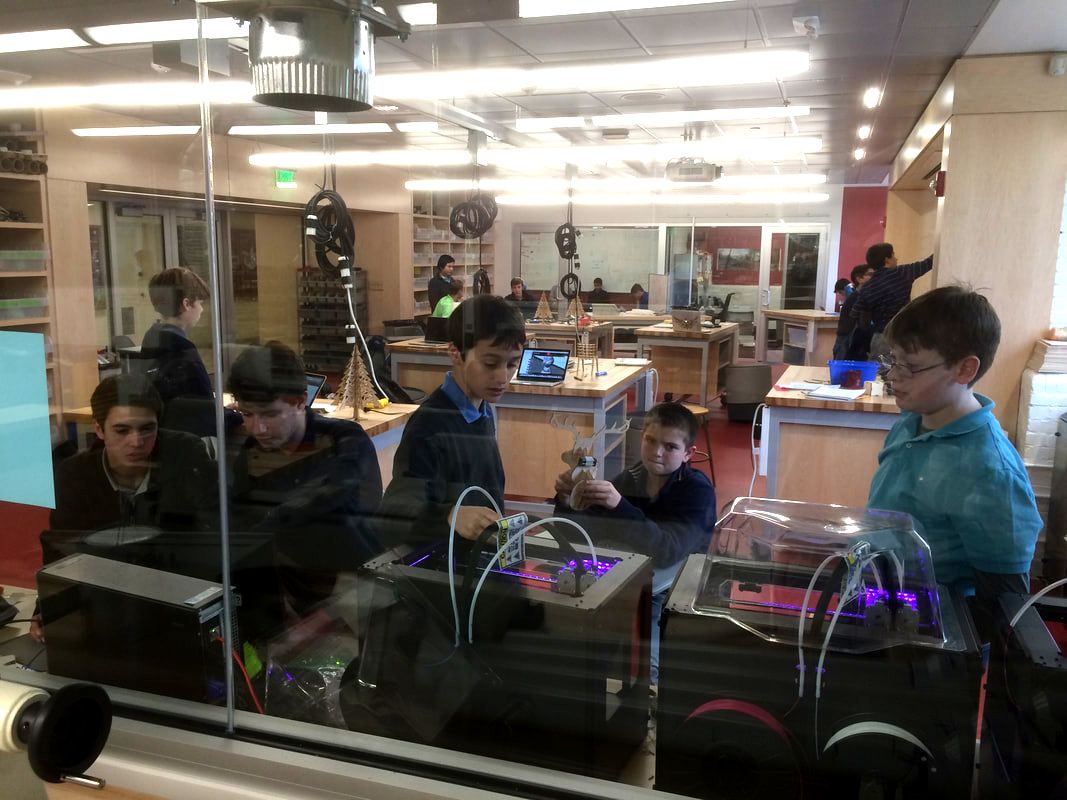
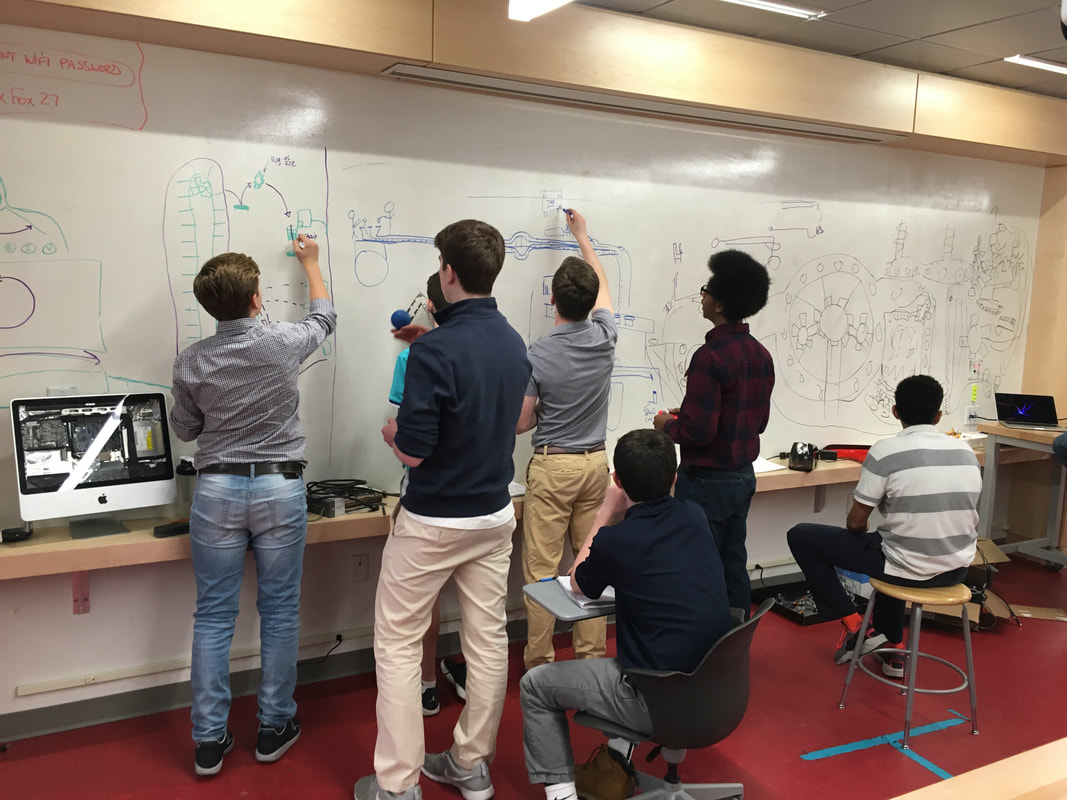
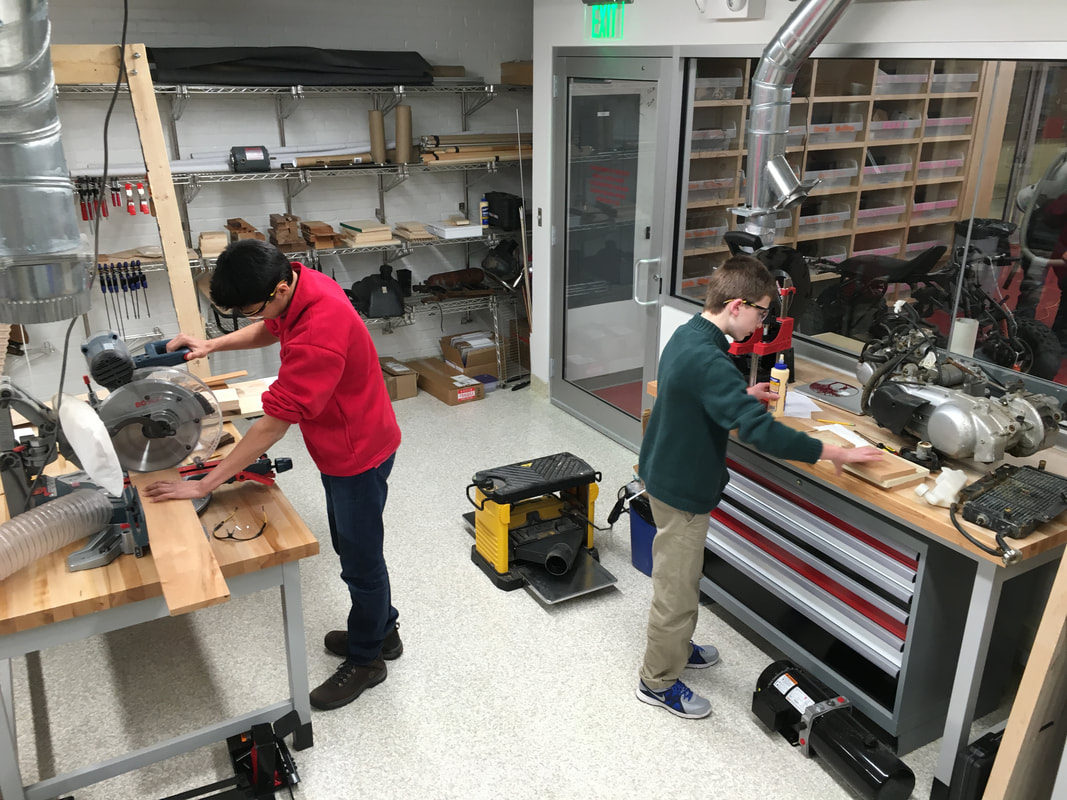
The entirety of this learning process was done through networked learning. I intentionally depended on networked “human” sources - YouTube videos, blog posts, forums - rather than traditional sources like recipe books. The recipe that I most recently discovered was on a blog called Smitten Kitchen. The post was titled “naked tomato sauce,” and in the words of the author, “The tomato flavor is so pure, so clear, so tart and sweet and roasted all at once, I was desperate to crack the code…” That sounded great, and I can largely corroborate her findings. One of the fascinating things about networked learning is that the resource you’ve discovered is often already several steps along the network. The previous quote continues, “...and it didn’t take long for Google to unearth for me the secret ingredient: Nothing. Nothing! Not onions or carrots or celery. No tomato paste, no slow-roasted garlic, no tomato variety so rare, you’ll need a second mortgage to even be allowed to look at it. The recipe for the sauce is pretty much just tomatoes, cooked until saucy.” The blog that I was reading wasn’t claiming to own the recipe, but was actually relaying a review and lightly modified (remixed) recipe from her network. The greatest challenge of using only networked resources for this learning project was that the official recipes, guidelines, and techniques for canning safely were generally off-limits. The great benefit of it is that you gain insights, opinions, ideas, and tangential information that you would never come across in the straightforward canonical, authoritative guide. Furthermore, you have the opportunity to engage the resources you come across through comments and messages. While it will be a relief to be able to consult the “official” sources for the next batch, I encourage you all to explore the full wealth of available networked experience and knowledge when you embark on your next learning project. Check out the video below for some saucy tips and tricks. Four years ago, I was fortunate to be a part of major learning space redesign. My school had determined that more intentional STEAM-based educational experiences were needed, and committed to renovating a space on campus to serve as the headquarters for those opportunities. My initial proposals for the space involved several non-negotiables. We needed:
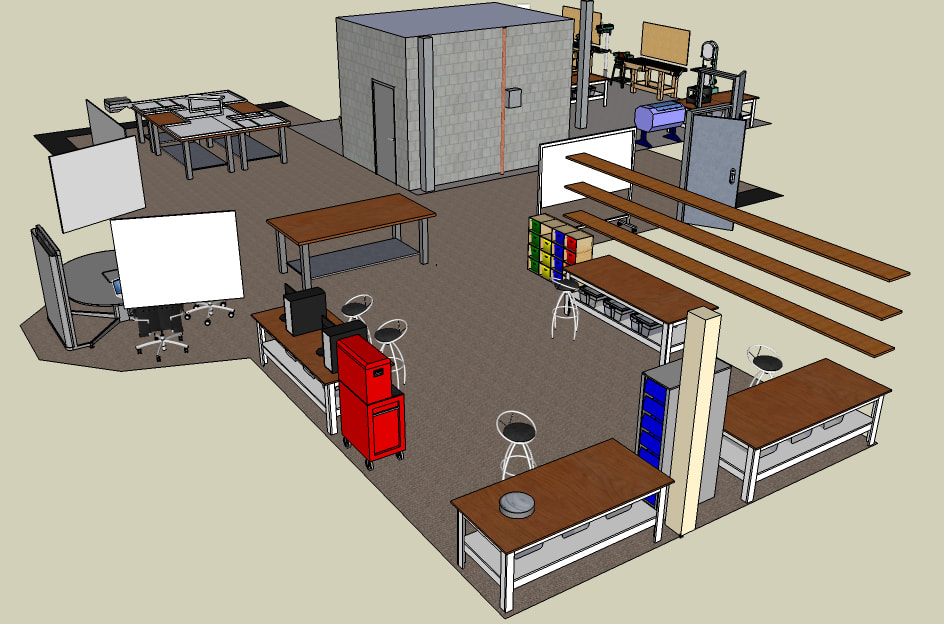
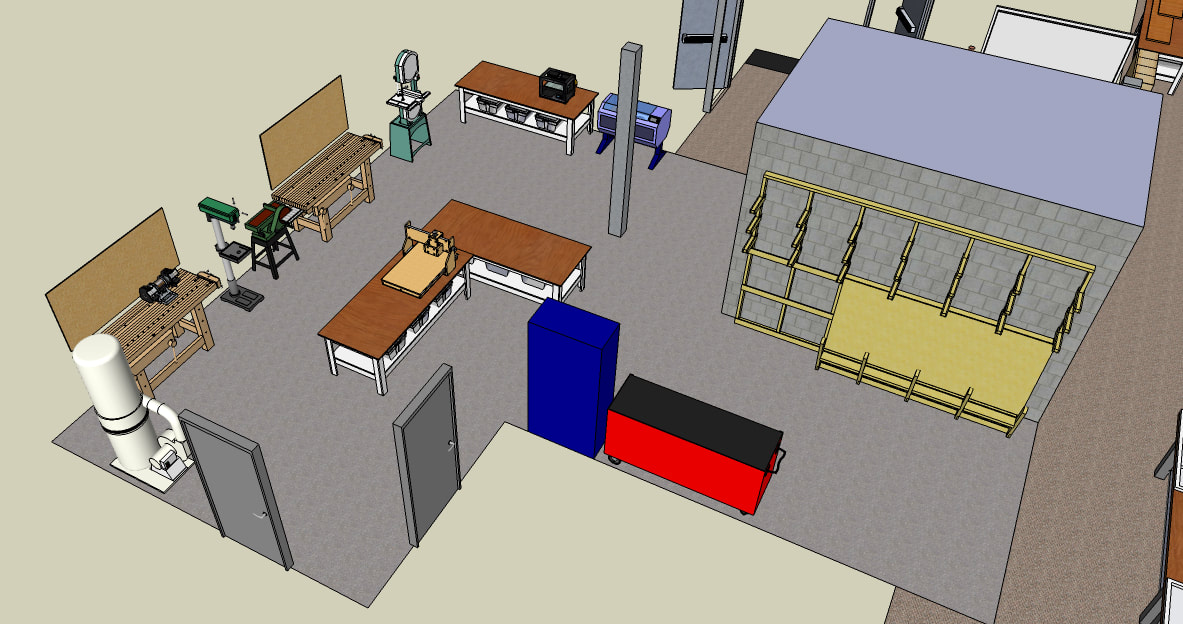
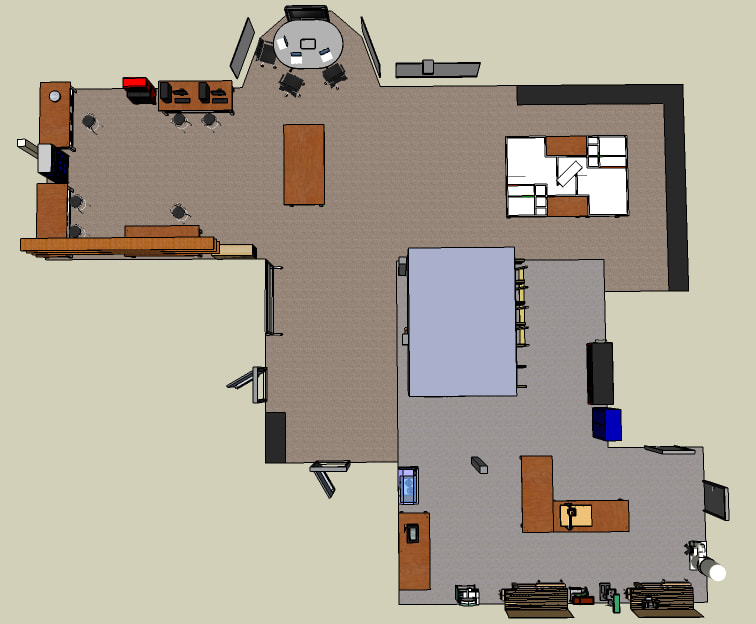
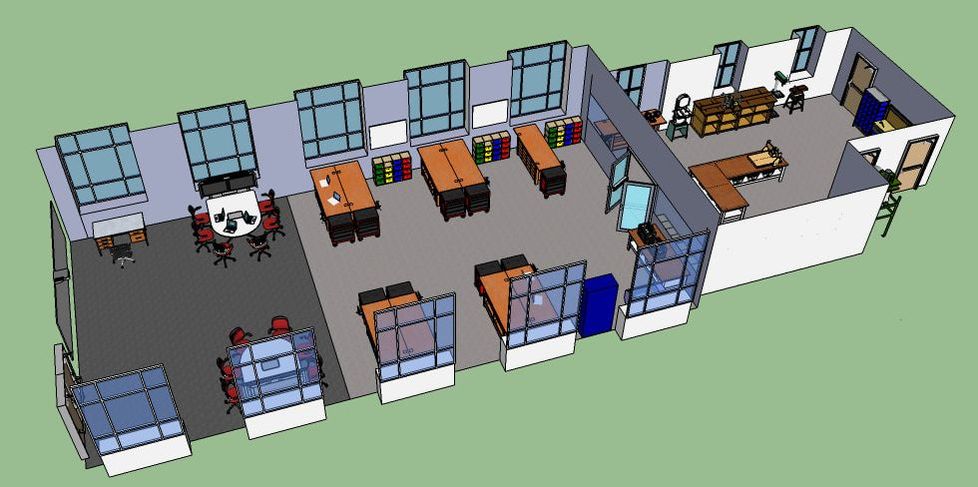
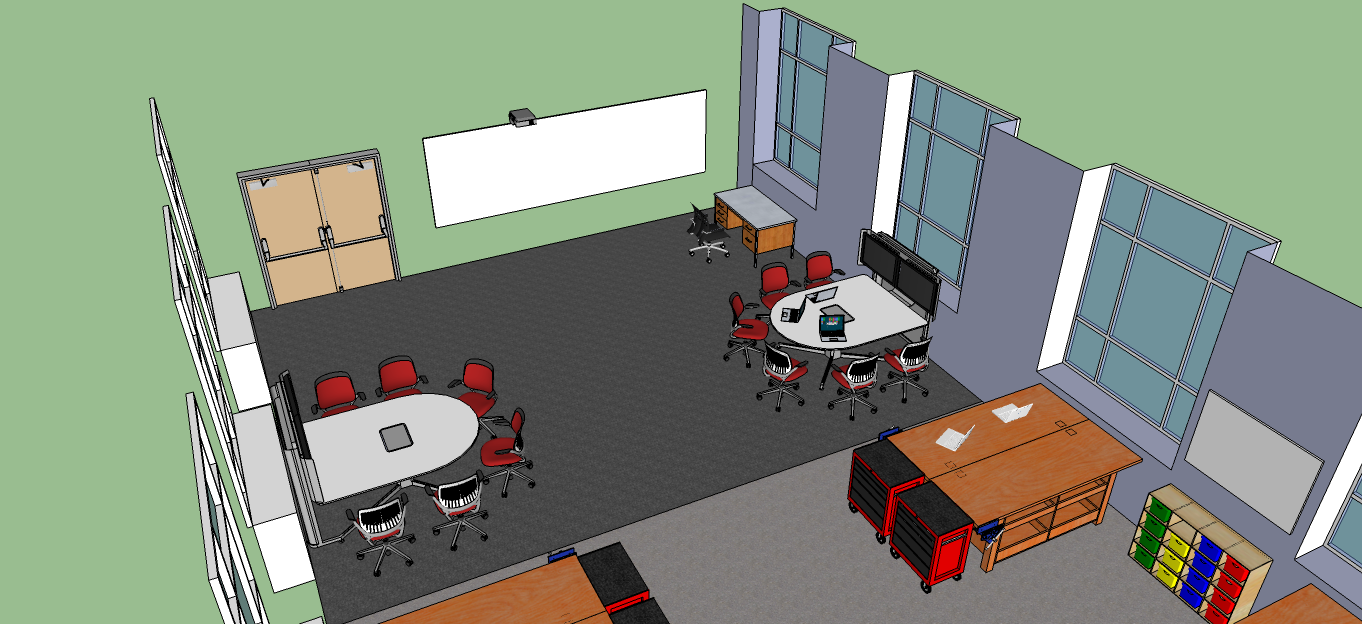
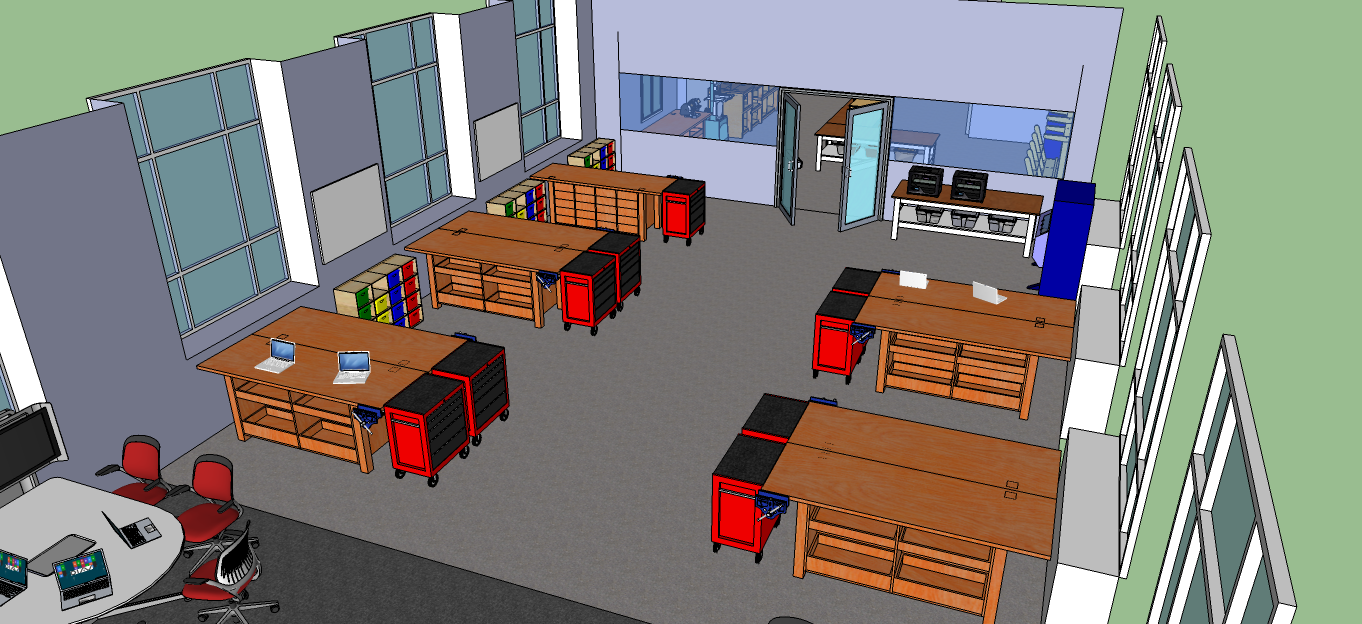
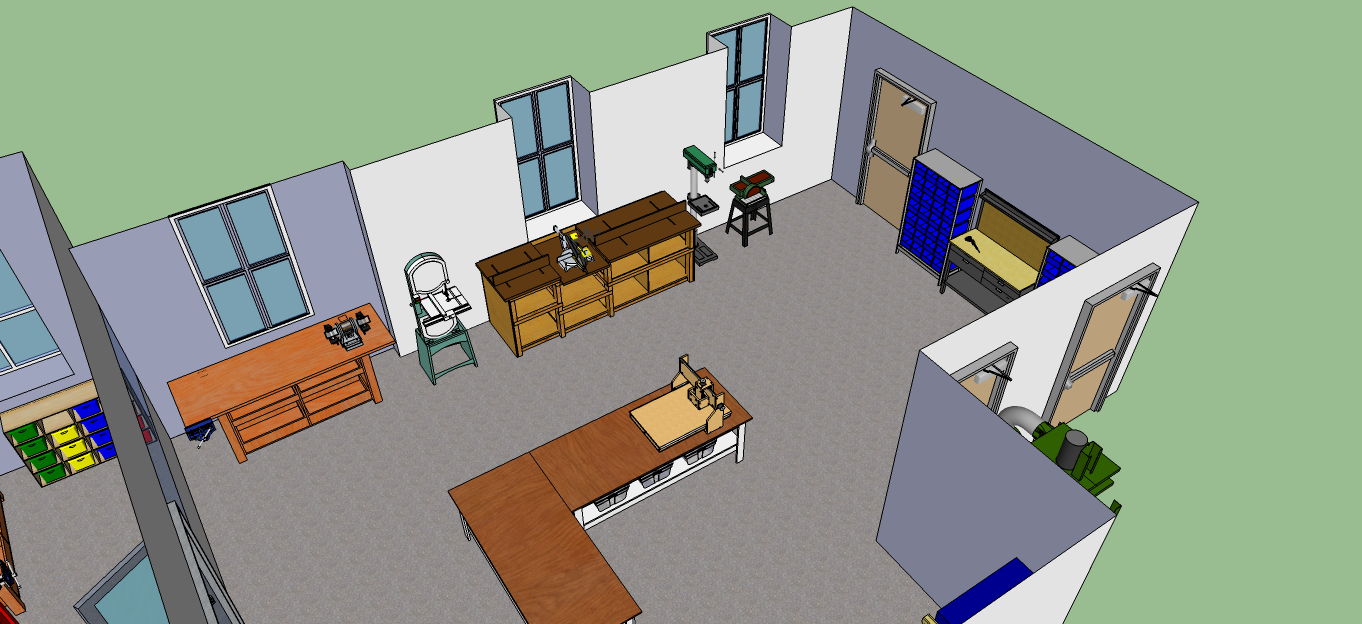
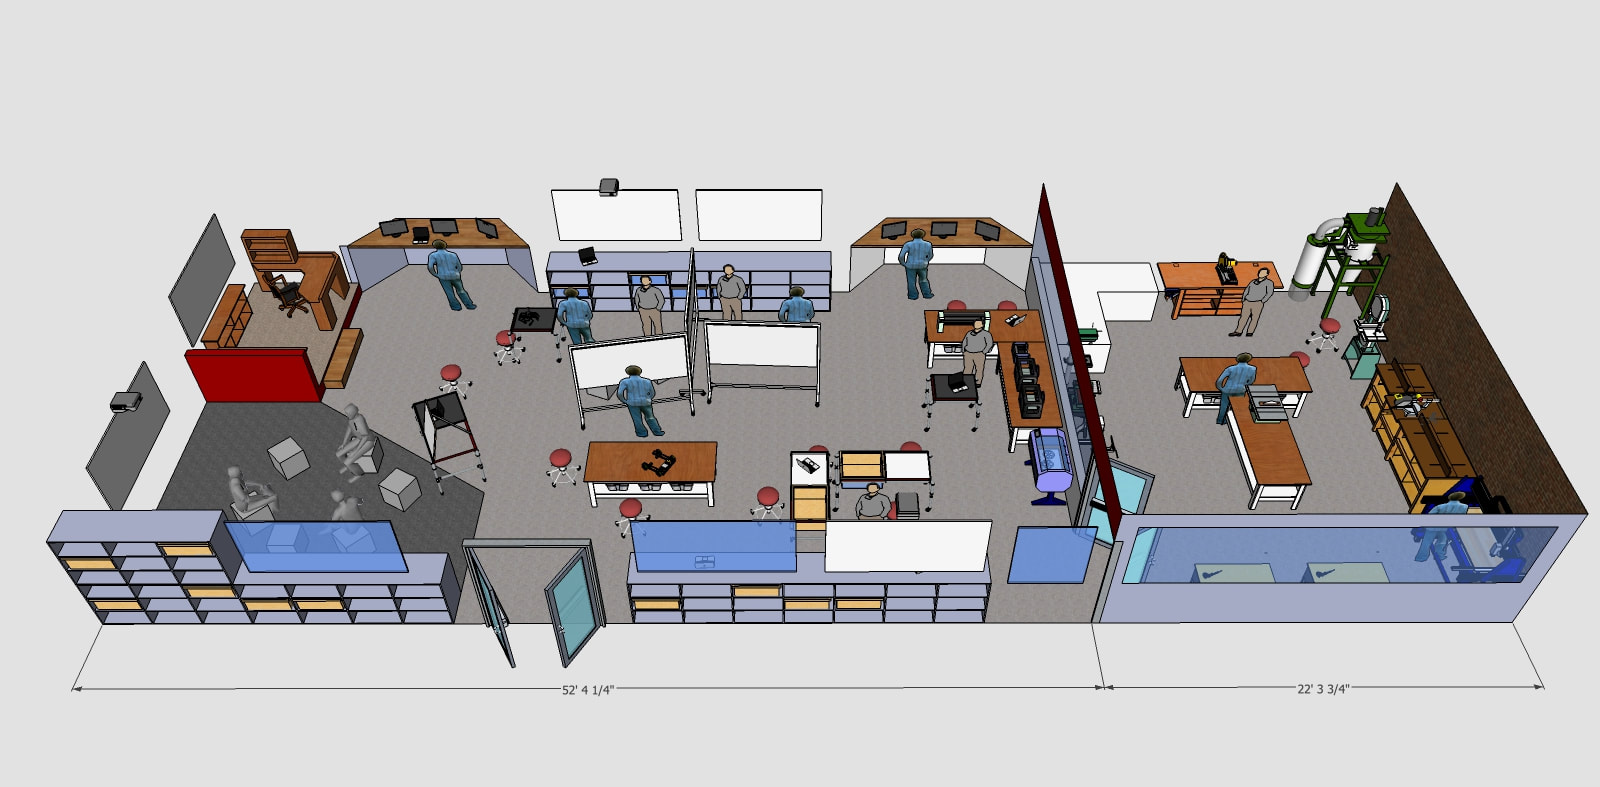
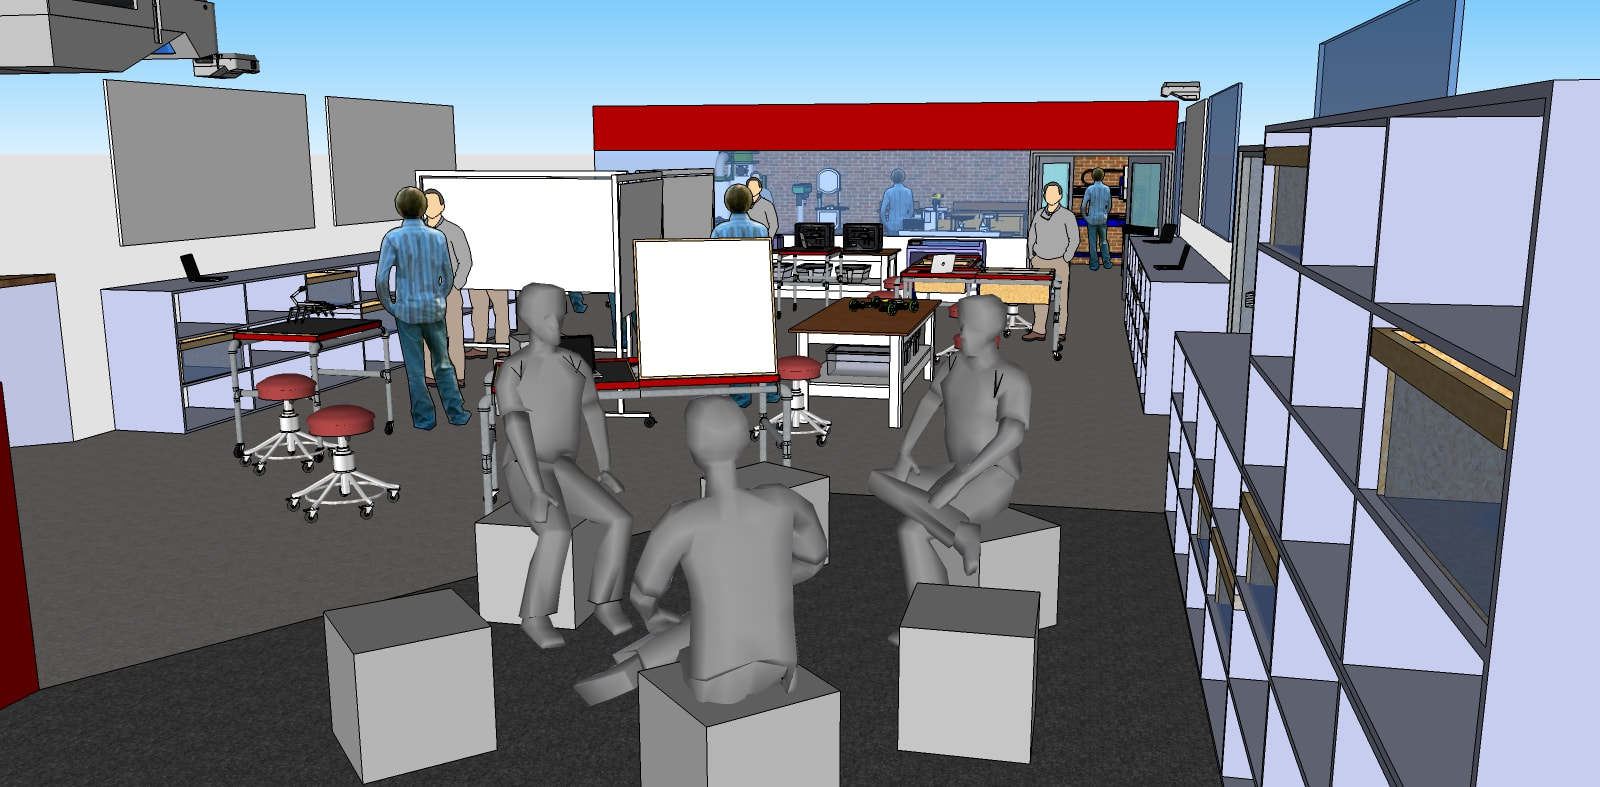
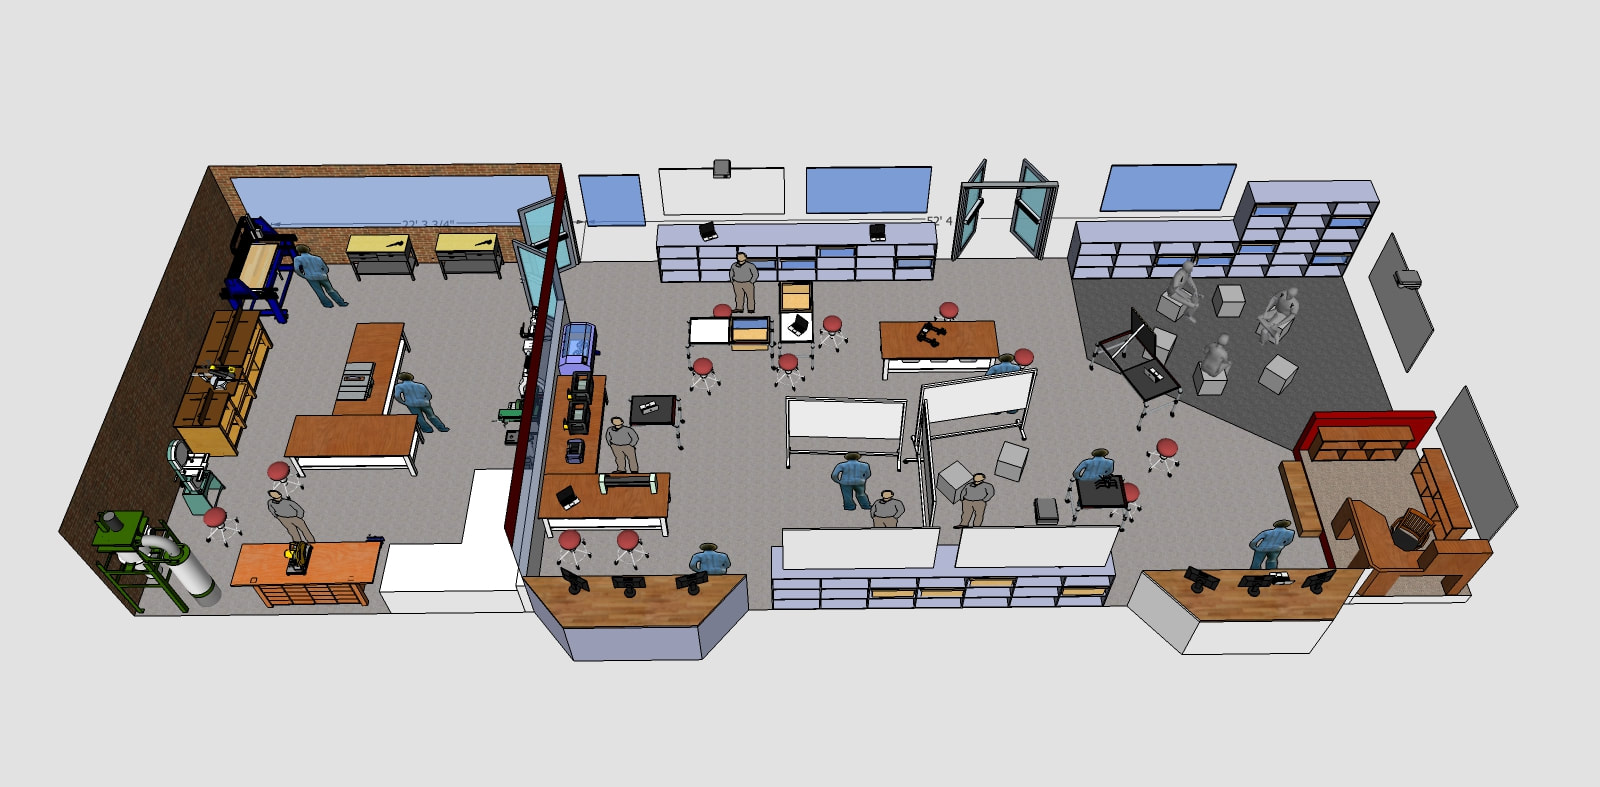
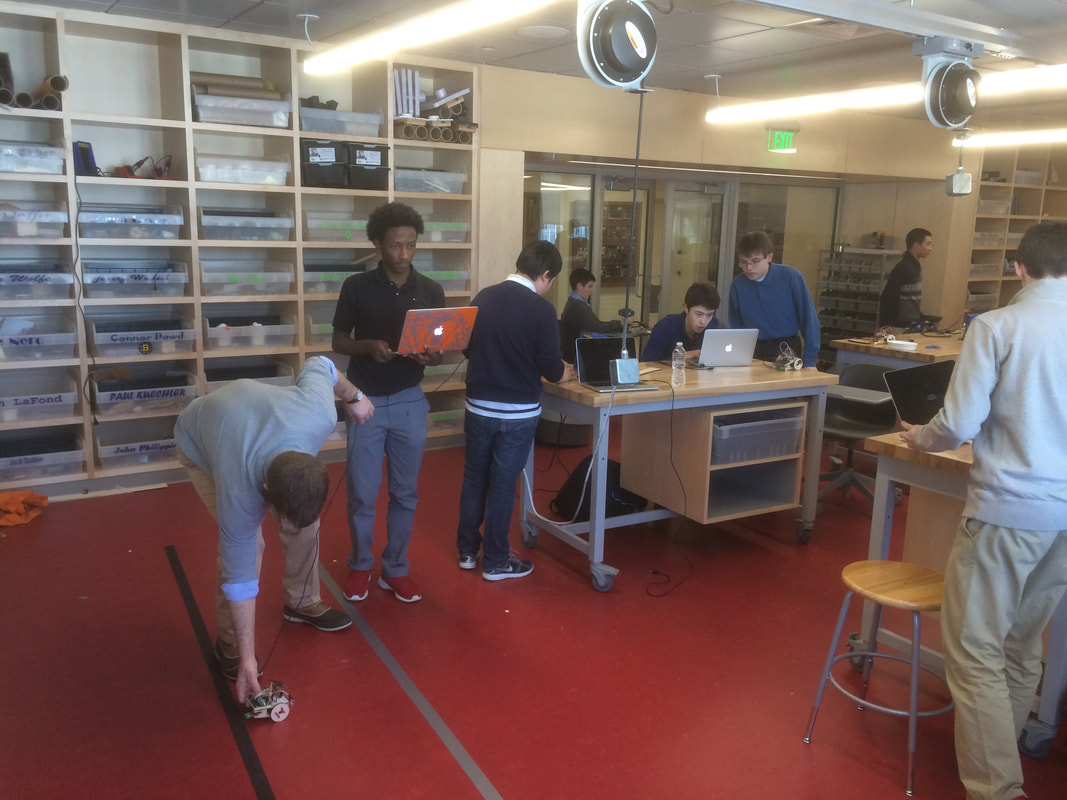
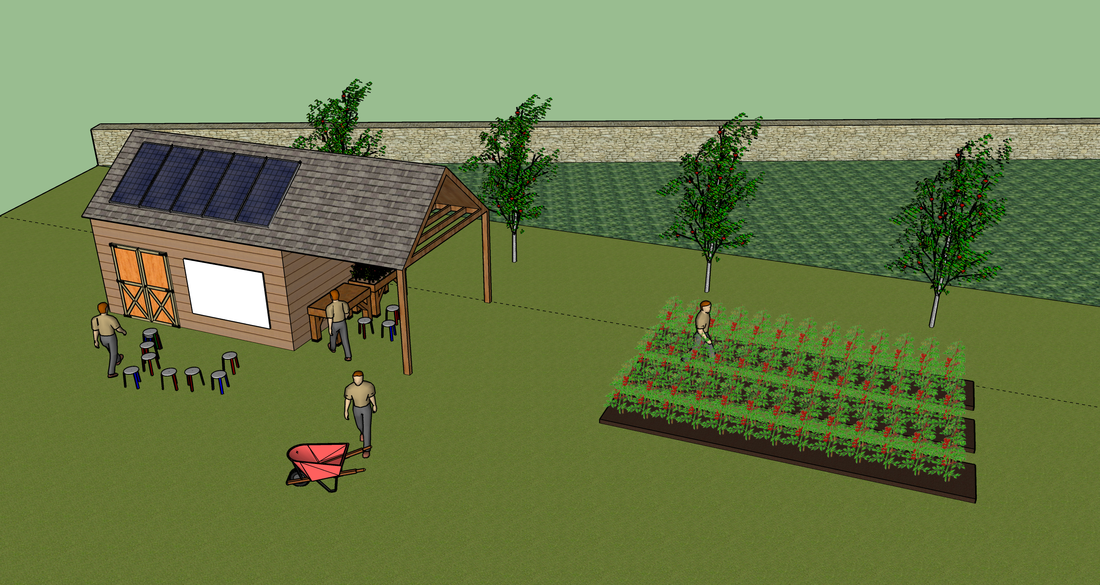
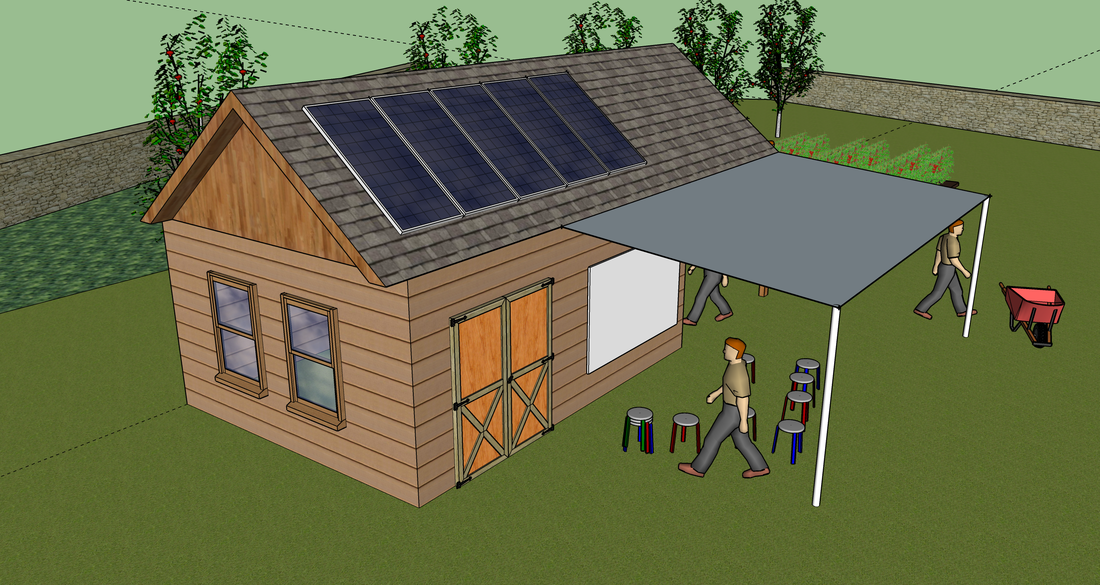
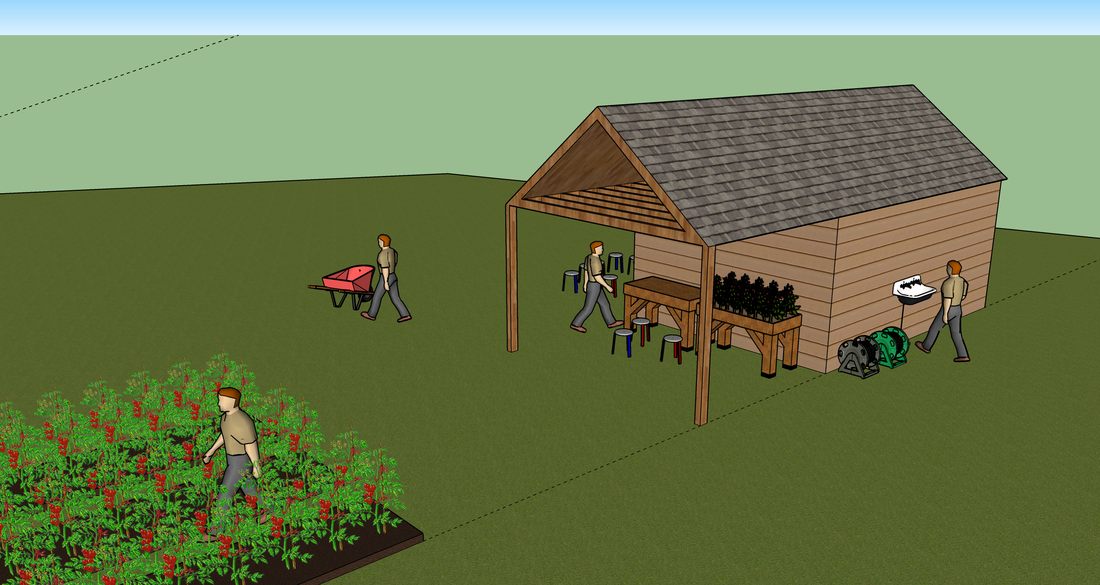
The two most useful and important guides that I discovered were the Makerspace Playbook, created by MakerEd and distributed by Maker Media, the publisher of Make: magazine, and the beautiful book Make Space: How to Set the Stage for Creative Collaboration by Scott Doorley and Scott Witthof, reflecting on their experience from Stanford’s d.School. Both resources delve deeply into the philosophy and goals of collaborative making spaces, and the ideas that they suggest for developing a space broadened and shaped my thinking hugely. Make Space in particular offers adaptable designs for handmade furniture, tools, and space definers, with the theory that a space full of locally-created useful objects sets the tone for ownership of a space and a DIY mentality. It also offers a wealth of thoughtful “Insights” for using a space, such as “Patina gives permission” (Doorley & Witthof, 202), one of my favorites. My thinking and designs evolved as the proposed spaces changed, and as the ideas morphed from a “grassroots” effort into a full school-sponsored initiative. The preliminary designs were for a dark, windowless space in the science building basement - an underutilized space that seemed like the easiest target for a grassroots takeover. Windowless and interrupted by a cinder block elevator shaft, the space was less than ideal, but at the time I wasn’t optimistic about the chances of the school committing higher-value space and resources to the proposal. As conversations “above my head” evolved, it became possible that another space might be available: the somewhat ignored and abused student center space. I adapted my designs to that larger and brighter space. In hindsight, that design was somewhat rigid - and would not have been very adaptable. That was the design, however, that was formally submitted along with a lengthy proposal to our administration. The proposal was approved, but with a caveat - the student center space would be converted to a new choral/lecture room, and the STEAM space would be located down the hall in what was at the time the weight room. What felt like a setback at the time may actually have been a blessing in disguise. My exploration of other spaces and resources continued, and my final proposal for the weight room space was substantially better in a number of ways than the design I had submitted in the initial proposal. It was more flexible and adaptable, had more built-in project storage space, and the design more carefully considered the various experiences that we wanted to offer the students. While the school hired architects and designers for the final design, my weight room design is fairly close to what was actually built. (See more renderings accompanied by some of my favorite Make Space quotes here.) As one would expect, the professional designers were able to add insights and experiences that I did not have, and raised the bar in several key ways. The most valuable adaptation? Glass. Rather than open “soft” separation between the office space, collaborative work space, and main classroom space, they designed closed but visible spaces with walls of glass. They also created an incredible glass entry wall, that gives passersby a “showcase” view of the space. I’ve lived in this space for 4 years now, and have loved the opportunities that it affords. It is a highly attractive and incredibly capable space, both for teachers and students. Since my primary classroom design dreams were largely fulfilled several years ago, I have been turning my attention to a satellite “classroom.” Our school is fortunate to have quite a bit of pastoral property. As our world continues to struggle with climate change, the stewardship of our planet, health and wellness, issues of food justice, questions surrounding GMO food, and increasing amounts of screen time, often at the cost of outdoor, natural time, it seems to me that an interactive outdoor STEAM learning space would provide incredible opportunities for our students. While I’ve put in some time over the past two years to consider what the programmatic elements might look like, I’ve recently been motivated to consider experiential design of spaces for learning once again. I updated my SketchUp license, and put some thoughts down in 3D space: The Third Teacher+ published a list called the 79 Ways You Can Use Design to Transform Teaching + Learning. While TTT+ generally focuses on the redesign of traditional (indoor) spaces, several of their list items stood out to me as equally relevant to outdoor spaces. Ideas such as, “Let the sunshine in, “Bring the outside in,” “Promote healthy play,” “Naturalize play spaces,” “Let your grassroots show,” “Roll up your sleeves,” “Get eco-educated,” “Highlight the site,” “Slow the pace,” “Define the learning landscape,” and “Put theory into practice.”
I imagine this learning space could be used across the curriculum - both integrating into existing courses and opening up possibilities for new courses and extracurricular learning. (See some of my curricular/co-curricular/extra-curricular thoughts here.) Spaces have the ability to expand rather than constrain thinking. Traditional “desks in a box” classrooms seem to dull, if not limit the imagination. Bringing learning outdoors might just be the thing we need. Math-Science Investigations (MSI) is a required 9th grade class at Roxbury Latin. Five years ago, it took the place of the 9th grade math class. It is a project-focused STEAM course (Science, Technology, Engineering, Arts, and Math), that aims to introduce students to an un-siloed approach to learning. Throughout the course, we expose them to a broad range of technology tools in the hopes that when they encounter problems later in life, their toolboxes are well equipped. We also hope that they will develop a facility with learning new technologies, so that they can pick up new tools with confidence in the future.
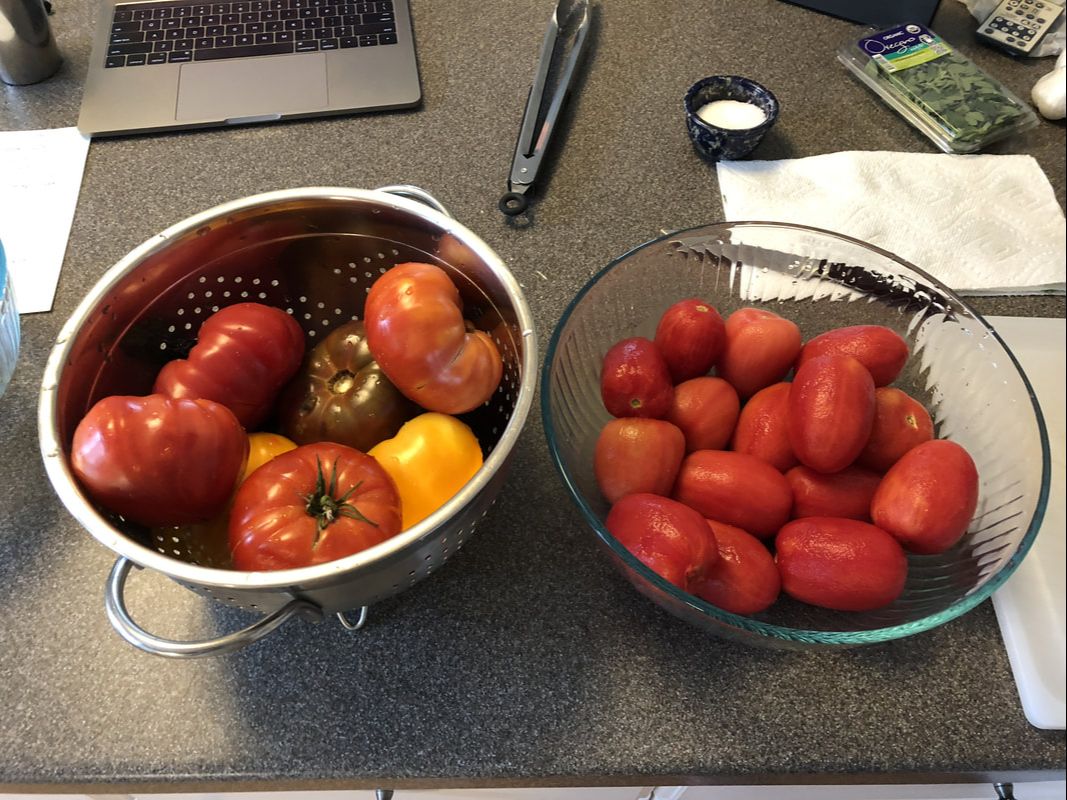
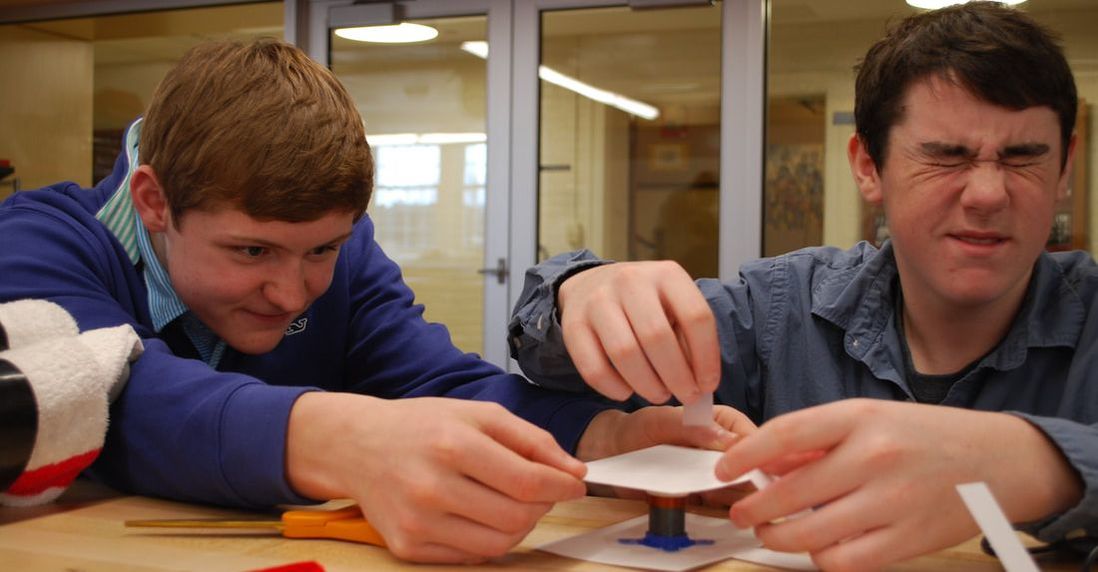
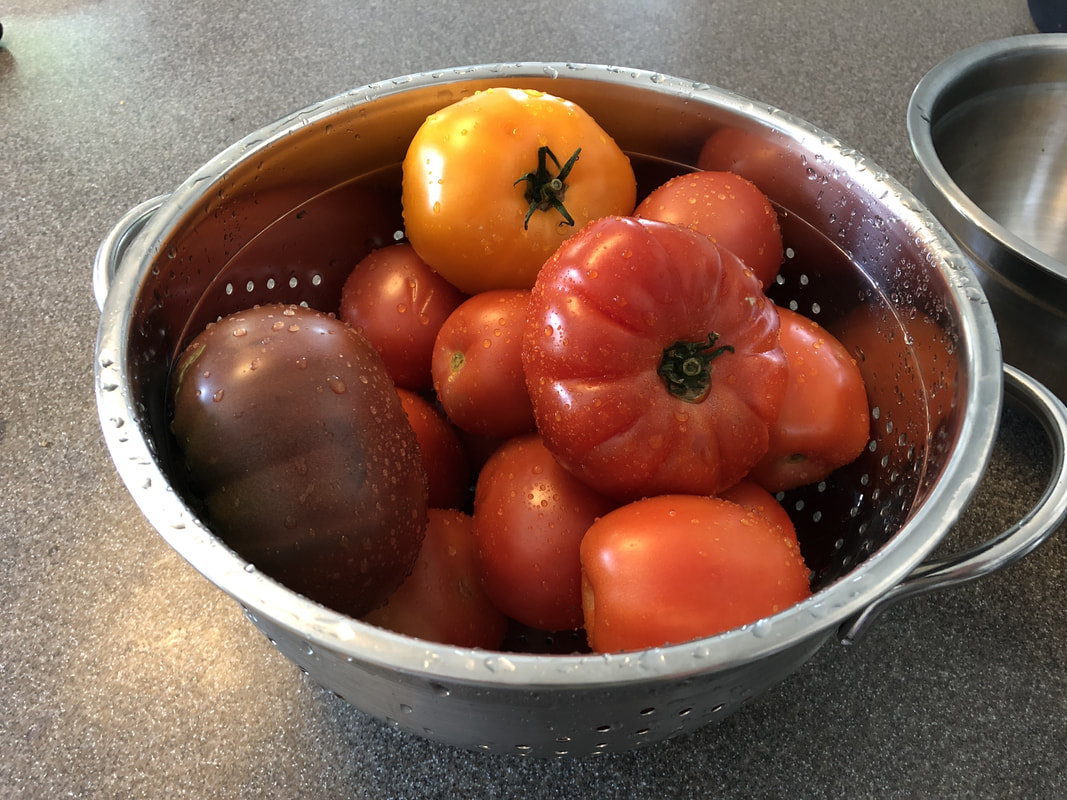
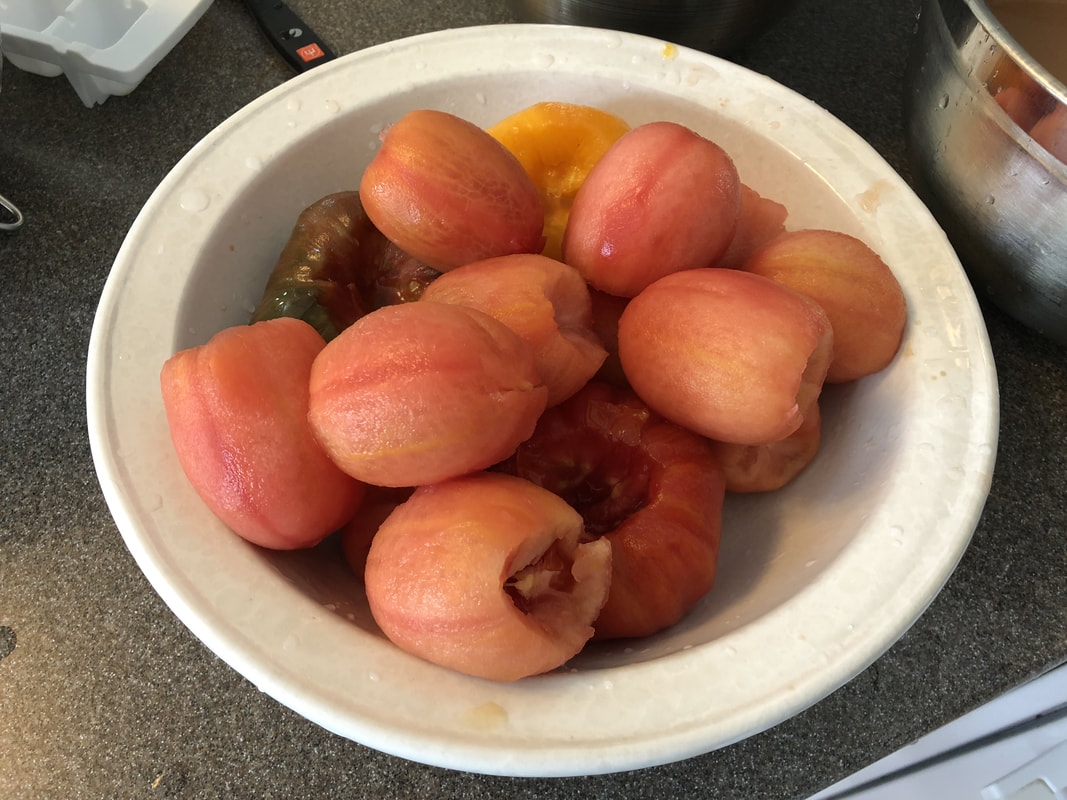
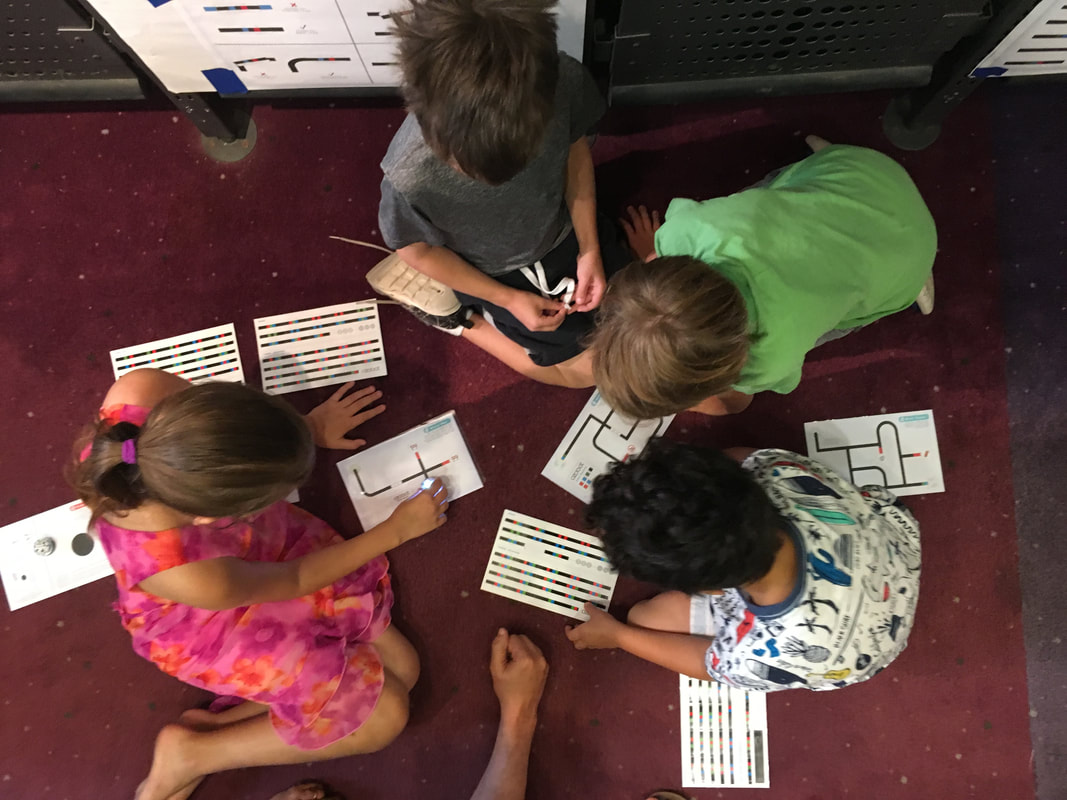
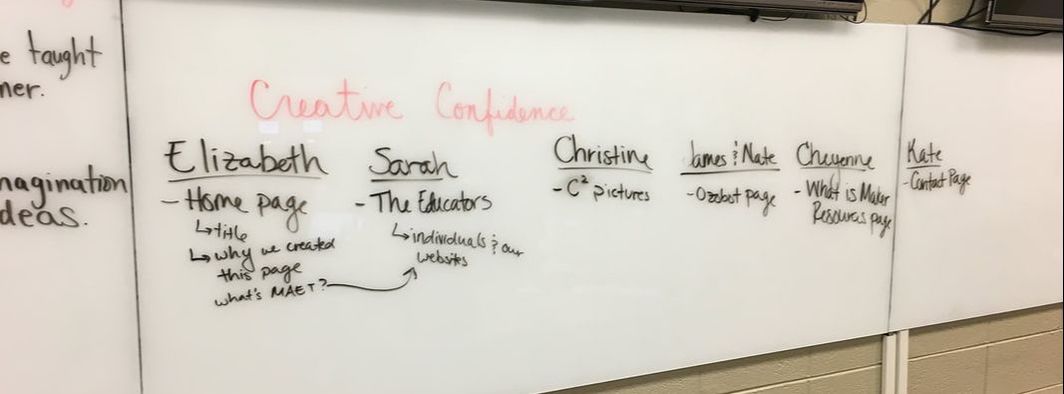
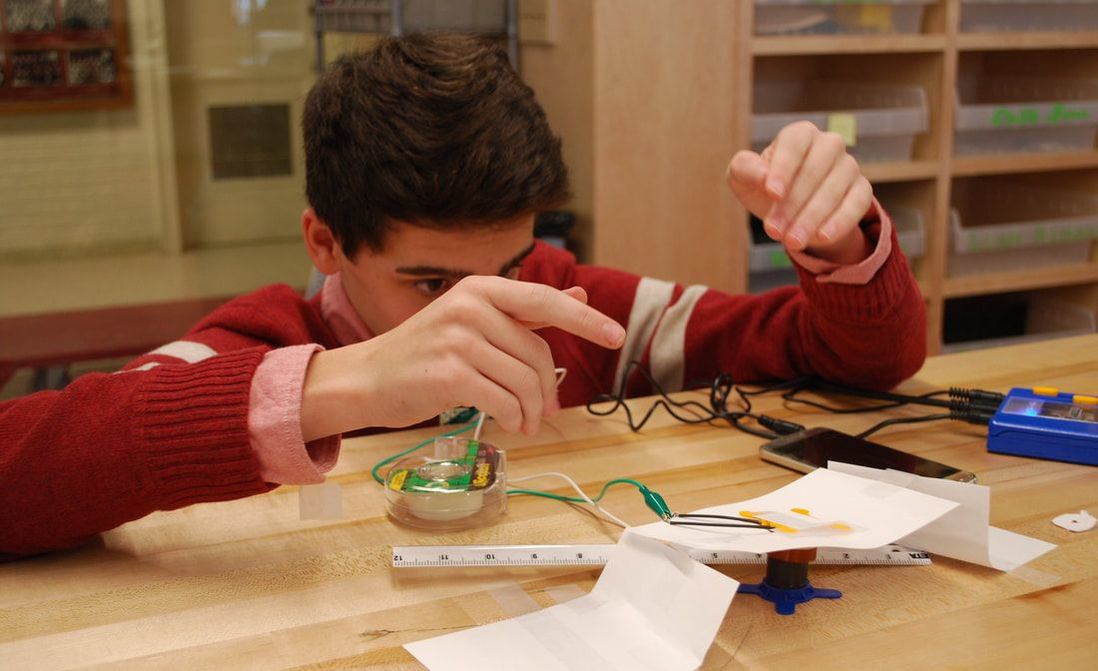
Since the beginning of the course, we have been working with the Bose Corporation’s education division to help them develop their educational tools, specifically the BoseBUILD Speaker Cube. We have developed a unit of our MSI curriculum that is focused on the physics, mathematics, and electronic reproduction of sound. In the lesson that introduces the students to “how speakers work” - we lean heavily on the basic “magnet and coil” kit that comes with the Speaker Cube. The Speaker Cube control panel comes preloaded with software that steps through a basic demo, starting with sending a single pulse of electricity through the coil so that it “jumps” away from the permanent magnet, moving through several stages of oscillation at increasing frequencies, to oscillation that creates audible tones, and finally a simple looping song. This lesson plan introduces the technology to the students. The success of the lesson depends heavily on finding the “sweet spot” between technology, pedagogy, and content knowledge (Koehler & Mishra, 2008). A cursory understanding of the technology would lead to a fumbling and disjointed experience, a lack of fluency with the content knowledge would break the “flow” of the class, as the teacher referenced notes or had to look up answers to questions, and poorly planned pedagogy could lead to either a lecture-heavy lesson, or a “hands-on” lesson without sufficient guidance. A perfect example of this “sweet spot” is at the very beginning of the teacher demo. The element of surprise is important when the coil first “jumps” away from the magnet. The teacher must be able to control and manipulate the technology seamlessly, so that the student’s don’t expect that something is going to happen (and, of course, the student’s attention and focus would be lost if the wrong thing happened). The teacher needs to have the presentation carefully planned out, almost like an actor. They need to anticipate what questions the students will (and should) have, and carefully and methodically unveil the questions, and then the answers. Without a sufficiently deep understanding of the content, urgent questions about electromagnetism and sound that the lesson is meant to extract might be unsatisfyingly answered. The teacher demo is meant to spark some questions, interest, and excitement in the students. The second part of the lesson involves the student’s replicating the demo in order to experience the phenomena for themselves, and to learn to manipulate the technology. Finally, they are asked to transfer their newly learned knowledge to a an open-ended, hands-on challenge. The technology is not the focus, but is rather a means to an end. Ideally, it should be simply seen as the mechanism by which the phenomenon (sound) occurs. Through the course of the lesson, they’re learning not only about the physics of sound, but the physics of magnetism and electromagnetism, the basic mechanism of a speaker, they’re practicing collaboration and exploration, question generating, the transfer of ideas, and the engineering design process. Resources: Herring, M. (Ed.), Koehler, M. (Ed.), Mishra, P. (Ed.), Published by The AACTE Committee on Innovation and Technology (Ed.). (2008). Handbook of Technological Pedagogical Content Knowledge (TPCK) for Educators. New York: Routledge. I made sauce! It was ok. After watching several YouTube videos and reading a few blog posts (sources below), I felt confident that I knew enough to get started. I certainly will not have 10,000 hours to practice my sauce making, so it was important to start practicing quickly. One of the challenges when making sauce for canning is that there are strict safety guidelines for long-term preservation. The USDA strongly discourages people from canning “any old” recipe, and instead recommend sticking to a carefully tested recipe. Any sauce that is canned using water-bath canning techniques (boiling water) cannot have any oil or meat - those recipes require a pressure canner (higher temperatures kill all bacteria, including botulism spores). Furthermore, the canning process continues to cook the sauce, and so the canning time must be taken into account when deciding where the sauce should fall on the spectrum from “fresh” flavor (short cook time) to “deep, rich” flavor (long cook time). As a first attempt, I decided to try a simple and straightforward approach, and avoid canning altogether. Once I am able to refine a simple recipe, I’ll work to adapt it to preservation. I tried a mix of tomatoes based on the advice of this guy at SeriousEats - as his name implies, he seems to take his craft seriously. He knows what he’s looking for, and is able to articulate how he makes it happen. His recommendation is to make a tomato paste in the oven (low and slow heat) for a deep, rich flavor component, a simpler “base” sauce with a blend of varieties, and a fresh component, cooked only for 10 minutes to preserve the flavor. They’re mixed together just before serving. Various other sources that I found on YouTube and blogs used a wide range of recipes - from canned tomatoes and dried herbs, to artisan recipes with only fresh, organic ingredients, to hearty sauces with peppers and mushrooms. While the tomato garden is growing well, the future sauce fruits are very green and far from ripe. Due to the time constraints of this learning project, I needed to purchase tomatoes for this first learning batch. This is where I learned my first major lesson: all the YouTube wisdom in the world can't make up for mediocre tomatoes. The tomatoes at the local farmer's market beckoned, but there were no plum tomato varieties (also called "paste" varieties, these are ideal for sauce because of their high flesh to water ratio, and few seeds). The supermarket was the next stop, and this was where things went downhill. The heirloom varieties that they offered were fine, but the plum tomatoes were hard and underripe. Although any honest midwestern feller would have scoffed, my simple city-dweller eyes were fooled. While the tomatoes looked sufficient in the store, you can see in the photo above that the pale, pinkish peeled fruits were merely imposters, feigning tomatohood. Without other options readily available, I decided to continue on, knowing well that this was a major compromise. Details will come as my technique is refined, but suffice to say for now that it turned out OK - even with compromised ingredients. I am generally encouraged, and convinced that with better, riper, fresher fruit and herbs, the end product will be substantially enhanced. My next steps are to try a second round with better ingredients, a third to refine the recipe, then subsequent tests to figure out a cooking and canning technique that preserves the flavors that I’ve created. Stay tuned! Resources: https://www.youtube.com/watch?v=Aqh3QfYHyRs https://www.youtube.com/watch?v=hvawBQeGZvU https://www.youtube.com/watch?v=RPKv9jw5Qz4 https://www.youtube.com/watch?v=yn5RtE82RVo https://www.youtube.com/watch?v=moNauSpPhzw https://ask.extension.org/questions/155387 http://foodinjars.com/2010/08/canning-101-why-you-cant-can-your-familys-tomato-sauce/ https://ask.extension.org/questions/421172 http://www.askaprepper.com/canning-pasta-sauce-long-term-preservation/ https://melissaknorris.com/make-can-tomato-sauce-waterbath-pressure-canning/ Our MAET first-year cohort was tasked with building a website (maetymakers2018.weebly.com/), meant to be a resource for educators that are looking for an introduction to the Maker movement with some practical examples of how they could implement activities in their classroom. The goals of the project included the exploration of the Maker movement and Maker-style projects, collaboration on website design and implementation, and the design of an activity and resource page for fellow teachers. The entire cohort was tasked with collaborating on general pages on the site, and we were split into small groups in order to design a specific activity and corresponding page to explain it. My partner and my focus was to create a Maker activity involving Ozobots: small line-following robots that are capable of “reading” colors and reacting to instructions, communicated as particular sequences of colors. We selected this educational technology from a variety of available tools because of its low barrier to entry, immediate engagement (“cool” factor), and the potential for low-overhead creativity and exploration. The Ozobot will follow a line drawn by the included markers, or line maps on included cards. The cards are designed in a sequence that scaffolds skills and knowledge as students work their way through. Color codes can be drawn with markers, and students can also use included color code decals that work in coordination with the included cards, to tell the Ozobots to turn, change speeds, set timers, or move in special ways, such as “Nitro Boost” or “Tornado.” We were interested in designing a teacher-guided activity that would introduce a group of elementary students to the basic functionality of Ozobots, while trying to balance instructive time and creative or problem-solving time. We had an opportunity to prototype our activity, and test it out on a group of mixed-age STEM summer campers at TinkrLab in Lansing, MI (“Smart Toys for Smart Kids”). Without a full understanding of the format of the activity, we tried to create a flexible, primarily self-guided activity. We gained valuable insight into the Ozobot technology and the way that young students intuitively use it. We were surprised by the youngest students’ lack of fine motor skills, which hindered their ability to draw accurate codes. The format of the activity time was fairly casual, and the students had some experience with the technology already, which hindered our ability to gauge novice student reactions to our activity. Nonetheless, we did observe that the students were interested and engaged with the tool, and most excited about the opportunities to solve the “Brain-Teaser” problems or to design their own maps and paths for the Ozobot to follow. After digesting the experience at TinkrLab, we shifted our focus to developing the website. Collaboratively designing and building the site was a challenge. Our preliminary planning took place in a shared Google Doc, in which we were able to outline our page and maintain a running list of outstanding questions. Initial planning went smoothly, but we ran into some bumps in the road when we began to actually build the site. Working with educators who are used to being the primary voice in the front of a classroom can lead to a “too many cooks in the kitchen” situation very quickly. Trying to build the page “live” with input from each of us was ineffective, so we quickly distributed the primary building tasks between the members in order to separate the work. We depended on the built-in themes and styles of the website building tool (Weebly.com) to create a cohesive look and feel for the site. Progress improved when we were able to delegate tasks. My partner and I focused on planning the content and layout of our page in a Google Doc before transferring our ideas to Weebly. I’m heavily involved in the Maker world in my day-to-day work at my home school, and believe strongly in the Maker paradigm as a way to deeply engage students with 21st century content while also developing softer skills, such as creative confidence, collaboration, critical thinking, and problem-solving. I am a Maker at heart, and find tremendous satisfaction in creating physical artifacts that are both beautiful and functional, and in sharing my passion with my students. It is easy to be proud of an accomplishment that not only exists in a student’s mind, but can stand on its own as evidence of creativity, hard work, discovery, learning, and problem solving. Punya Mishra & The Deep-Play Research Group (2012) have explored the idea of creativity, and invented the idea of, “(in)disciplined creative work, (a) meaning that creative work always happens in a discipline or context; while understanding that (b) at the same time, it is indisciplined, cutting across the boundaries of discipline to emphasize divergent thinking and creativity” (p. 15). Some students feel as though they are creative in once discipline but not in others, which is easy to agree with based on their talents and experiences. I believe, however, that creative confidence is transferrable across disciplines, and is fostered by Maker-style projects.
In a best-case scenario, Maker projects are authentic, relevant to the student’s context, and naturally lead the students to the important questions of the educator-chosen topic or concept. Instructors can gently guide, support, and encourage the students as they work to find their own answers and develop their project. As with any technology, we need to be careful not to assume that the Maker tool alone is capable of achieving our educational objectives. We must remain focused on the content and pedagogy in order to build successful lessons. I struggled to find authenticity in this activity, to understand the context of the potential learners, and to properly target the content, since we didn’t have a clear target audience. Ozobots do hold promise as an engaging introduction to programming, but it’s not truly a robotics platform, nor is it a very strong “Maker” tool. There are opportunities for creative play and exploration, but it doesn’t hit the Maker “sweet spot.” Maker tools and materials don’t need to be high-tech or expensive, they simply need to provide opportunities for students to design, build, test, revise, showcase and share their creations. Carefully planned content, pedagogy, and thoughtful educator guidance are more important to a successful Maker project than the tools. Resources: Mishra, P., & The Deep-Play Research Group (2012). Rethinking technology and creativity in the 21st century: Crayons are the future. TechTrends, 56(5), 13-16. |
AuthorNate is the Director of Technology at the Roxbury Latin School Archives
January 2019
Categories |

 RSS Feed
